Hello Blogger friends! Thanks for taking the time to stop and visit with The Charmed Life Blog this last Saturday in January.
It's a brisk day here in Pittsburgh but lots of sunshine. That always brightens the day for me.
I don't have any big plans for today. My craft room needs straightened up and I am also in the process of organizing my die collection. Once that's done I will be on the lookout for stencil organizing ideas. I currently have them on a Tim Holtz carousel storage. It just takes up too much room on my desk, so I am looking for other ideas.
My MFT stamps & dies also need organized. I bought an Interline plastic container a few months ago to do this but nothing has happened as yet. That's on my immediate to do list.
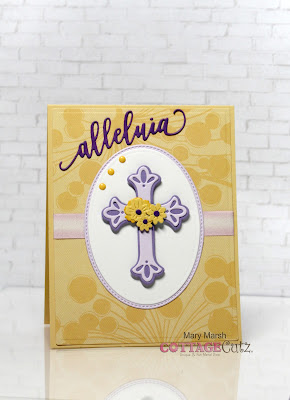
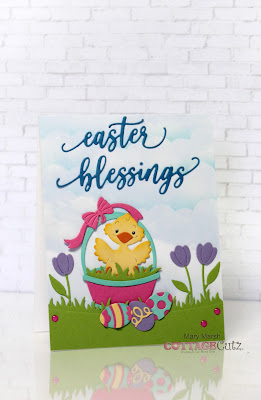
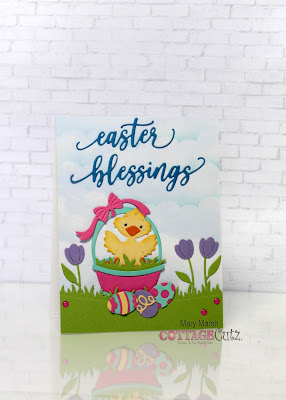
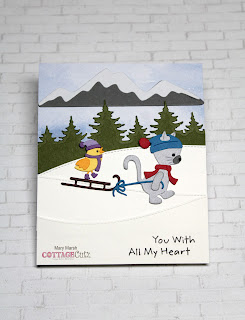
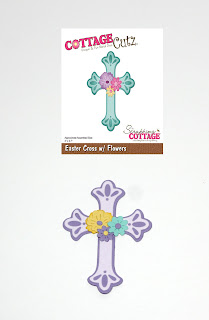
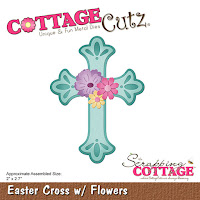
Anyway, onto my card for this post. Today, I have a religious one for you using the Easter Cross w/Flowers die. Which, I believe, is the reason we celebrate Easter. I created for my weekly DT post on the CottageCutz Blog. So, let's get started with some details of how I created my card.
Design Steps:
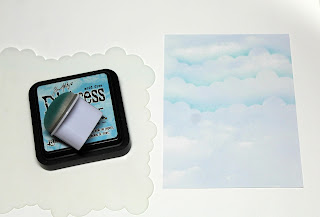
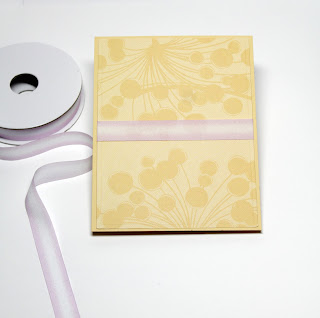
Since I knew what die I was going to use to create my card and I sort of had a layout in mind, I looked for a subtle designer paper that would work. I wanted paper that wouldn't overtake the cross. I found this one with a floral image on it. Yellow Card Base: 4 1/2" x 5 1/2"
Designer Paper Layer: 4 1/8" x 5 3/8"
Light Purple Oval: 3rd largest from the Stitched Oval
White Oval: 3rd largest from the Oval Set.

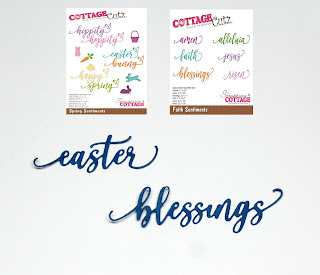
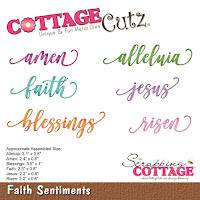
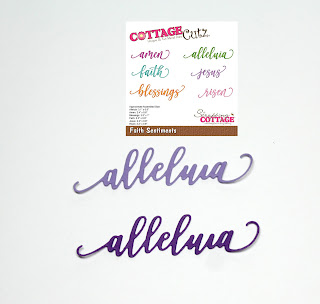
I wanted to use one of the new phrase sentiments that were just released. I chose the alleluia phrase from Faith Sentiments die. I cut it in 2 shades of purple because I wasn't sure which one to use. My cards are always a work in progress.
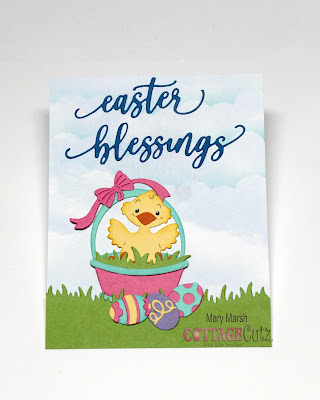
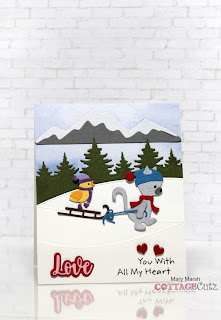
Now that all my elements are prepared, I am ready to start card assembly. I decided to use some ribbon on my card that matched one of the shades of purple on the cross. I attached that to the designer paper and then that layer to the card base with double sided tape.
For the cross, I used dimensional adhesive to slightly lift it off the oval background. At this point I decided to change the flower colors. I made them all yellow, and I liked that better. I added the alleluia phrase. I went with the darker purple one. I thought that made more of a statement on the card. Added a few yellow enamel dots and this card is complete.

Well, that's it for me for this post. So, until next time.........God bless.
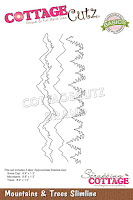
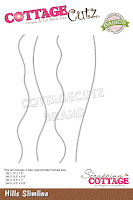
dies I used to create card:

I am also entering:
1. Crafty Catz has an anything goes w/optional to add flowers.
2. Creative Knockouts has a die cuts/punches challenge.
3. Gem of a Challenge is anything goes.