Hello Blogger Friends! Thanks for taking the time to stop and visit with The Charmed Life Blog today.
It's the last Saturday in October. The end of year holidays are now upon us. Hope you have your Thanksgiving cards made. I will be working on completing mine today. I have a couple of Stampin'-Up kits that I plan on using to get those cards done.
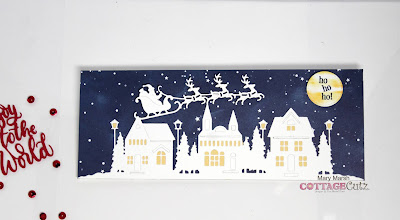
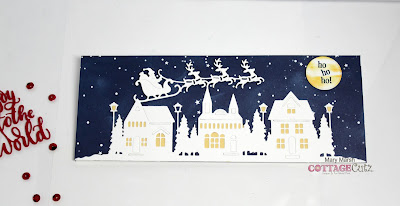
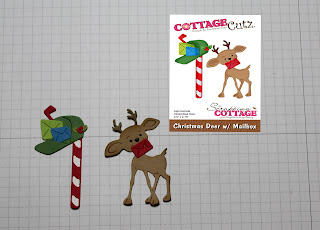
I have a good start on my Christmas cards but still need about 20 more. I send a lot and I also have a big family. This is another one that I made using new CottageCutz Christmas dies. It's also for my weekly DT post on the CottageCutz Blog.
Design Steps:
This week I started my card with my layout. As I have said so many times before having the sketch in mind helps start as well as simplify the card making process for me. I liked the sketch #877 at Splitcoaststampers. I thought it would work well for this cute little Christmas deer.
This week I started my card with my layout. As I have said so many times before having the sketch in mind helps start as well as simplify the card making process for me. I liked the sketch #877 at Splitcoaststampers. I thought it would work well for this cute little Christmas deer.

Next, I cut the images and stuck with the traditional Christmas colors of red and green.
red card base: 4 1/4" x 5 1/2"
designer paper layer: 4 1/8" x 5 3/8"
white layer (element 3 of sketch: - 1 3/4" x 4 1/8"


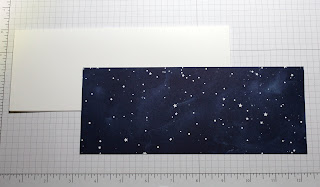
Now that my card elements are prepared I am ready to start assembly. I attached the vellum to the designer paper with glue dots. It definitely gave a muted look to the designer paper. I put them in places that I new would be covered with the white panel and then the images.

The white panel with the sentiment is attached with double sided tape. I trimmed the design paper layer a bit because I was going to attach a snow bank.

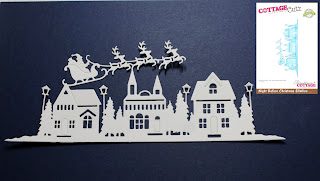
The images are attached next with dimensional adhesive. I cut two snow banks from the North Pole die and attached them with double sided tape. I added two snowflakes for elements 4 & 5 of the sketch to complete my card.

And, that's it for me for this post. So until next time.......God bless.
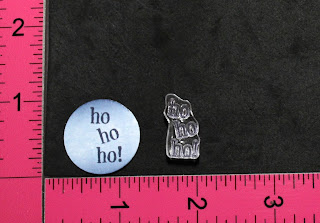
dies I used to create card:


1. Crafty Catz has an anything goes challenge.
2. Jingle Belles has a creature feature challenge.
3. Aud Sentiments challenge is use a Christmas sentiment.
4. Creative Knockouts has an anything goes challenge.
5. CHNC Challenge #566 is anything goes.
6. Little Red Wagon Challenge is "outside".