Hello Blogger Friends! Thanks for taking the time to stop and visit with The Charmed Life Blog this last Saturday in February.
I can't believe February is almost over and Monday starts March 2021. Spring is just a few weeks away and also the switch to daylight savings time. I saw some daffodils at Trader Joe's the other day and it made me think Spring. And such a great price at $1.79 for 10 of them. I picked up 2 bunches. They have all opened and are such a fresh site on my kitchen table. I buy flowers there until my hubby's garden starts blooming. But that won't be for some time yet.
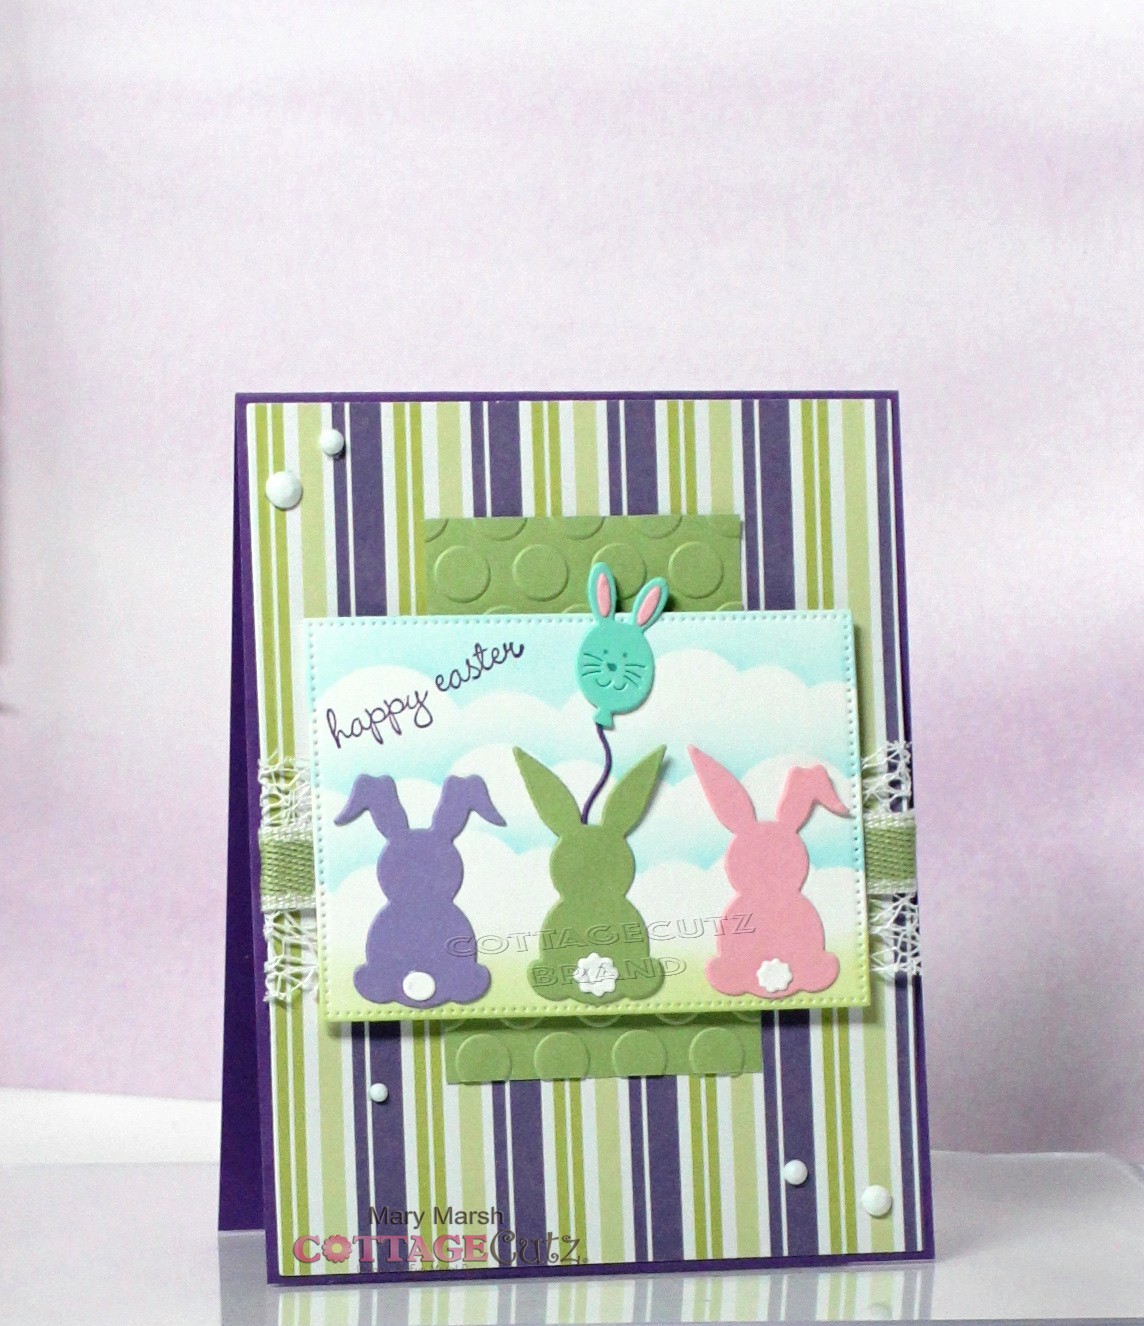
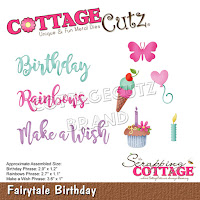
Now let's move onto my card for today. This one I created for my weekly DT post on the CottageCutz Blog. I used one of the new Spring dies - Mouse w/Flower Cart to create a birthday card for my friend who celebrates on March 20th. So let's get started with some details on how I created this card.
Design Steps:
I already had my colors selected for this card. It's a little sneak peak of the upcoming color challenge on Splitcoaststampers. So I decided to feature this new Mouse die and then I needed a layout. I found this one on the MojoMonday site. I loved all the layers so I went with it.

Next, I cut my mouse, flowers and bees images using various colors of cardstock.


Then for the center layer I decided to emboss some white cardstock.  Now that my elements are all prepared, I am ready to start card assembly. I attached the background striped layer to the card base using double sided tape.


...and the sentiment circle also with double sided adhesive.

To finish off my card I added my images. The mouse is attached with dimensional adhesive and the flower pots with glue dots. For the bees I rolled some glue dots to lift them off the background slightly, it's a little technique that works great for smaller images.

Well that's it for me for this post. So until next time........God bless.
dies I used to create card:


I am also entering:
1. A Gem of a Challenge is anything goes.
2. Allsorts challenge is feminine.
3. Creative Fingers has an anything goes challenge.
4. Cute Card Thursday has a feminine challenge.
5. Creative Knockouts has an anything goes challenge.