Saturday, March 26, 2022

Hello from the Spring Kitten

Hello Blogger friends! Thanks for taking the time to stop and visit this last Saturday in March. Wondering out loud where this month has gone!

Hope you have some fun plans on this Spring weekend. We have friends who bought some large acreage in a rural area and plan on building a house on it. They have invited us and some other church leaders to come out today and pray over the land. We are looking forward to it. So, I wanted to get this post done before we leave. 

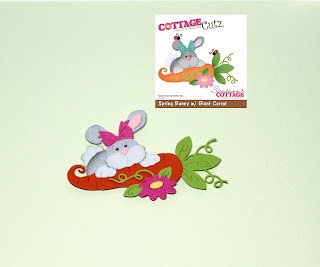
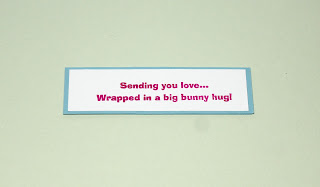
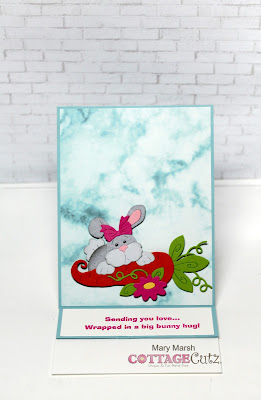
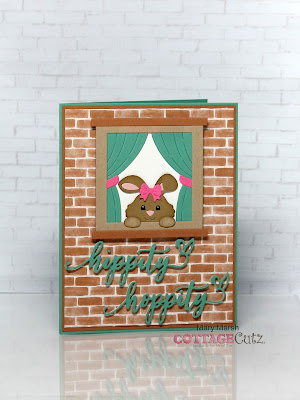
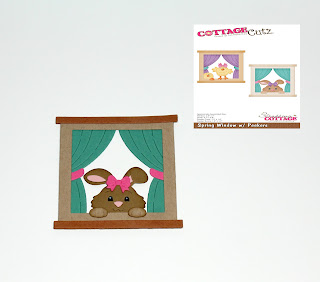
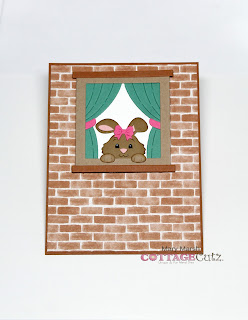
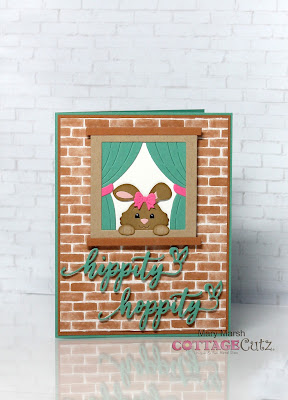
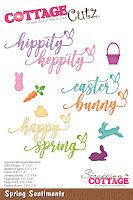
This card I made for my weekly DT post on the CottageCutz Blog. My card is featuring the new Spring Kitten w/Envelope die. Instead of using it for a Spring or Easter card I created a thinking of you card. I will send this one off to my friend who lives in another state, and I haven't seen her since the pandemic started. Hopefully that will change soon.

Since I knew the type of card I wanted to make and the die I was going to use, I just needed to select the card and image colors. I looked through my designer papers and I found an envelope with some nice shading on it. It was too nice to use as an envelope to send in the mail and then throw away. So, I cut the envelope apart and used it for my card background. I am also using a papaya ribbon for an accent on my card. 


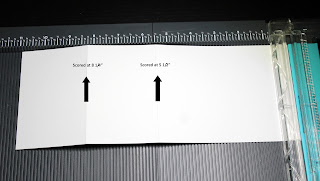
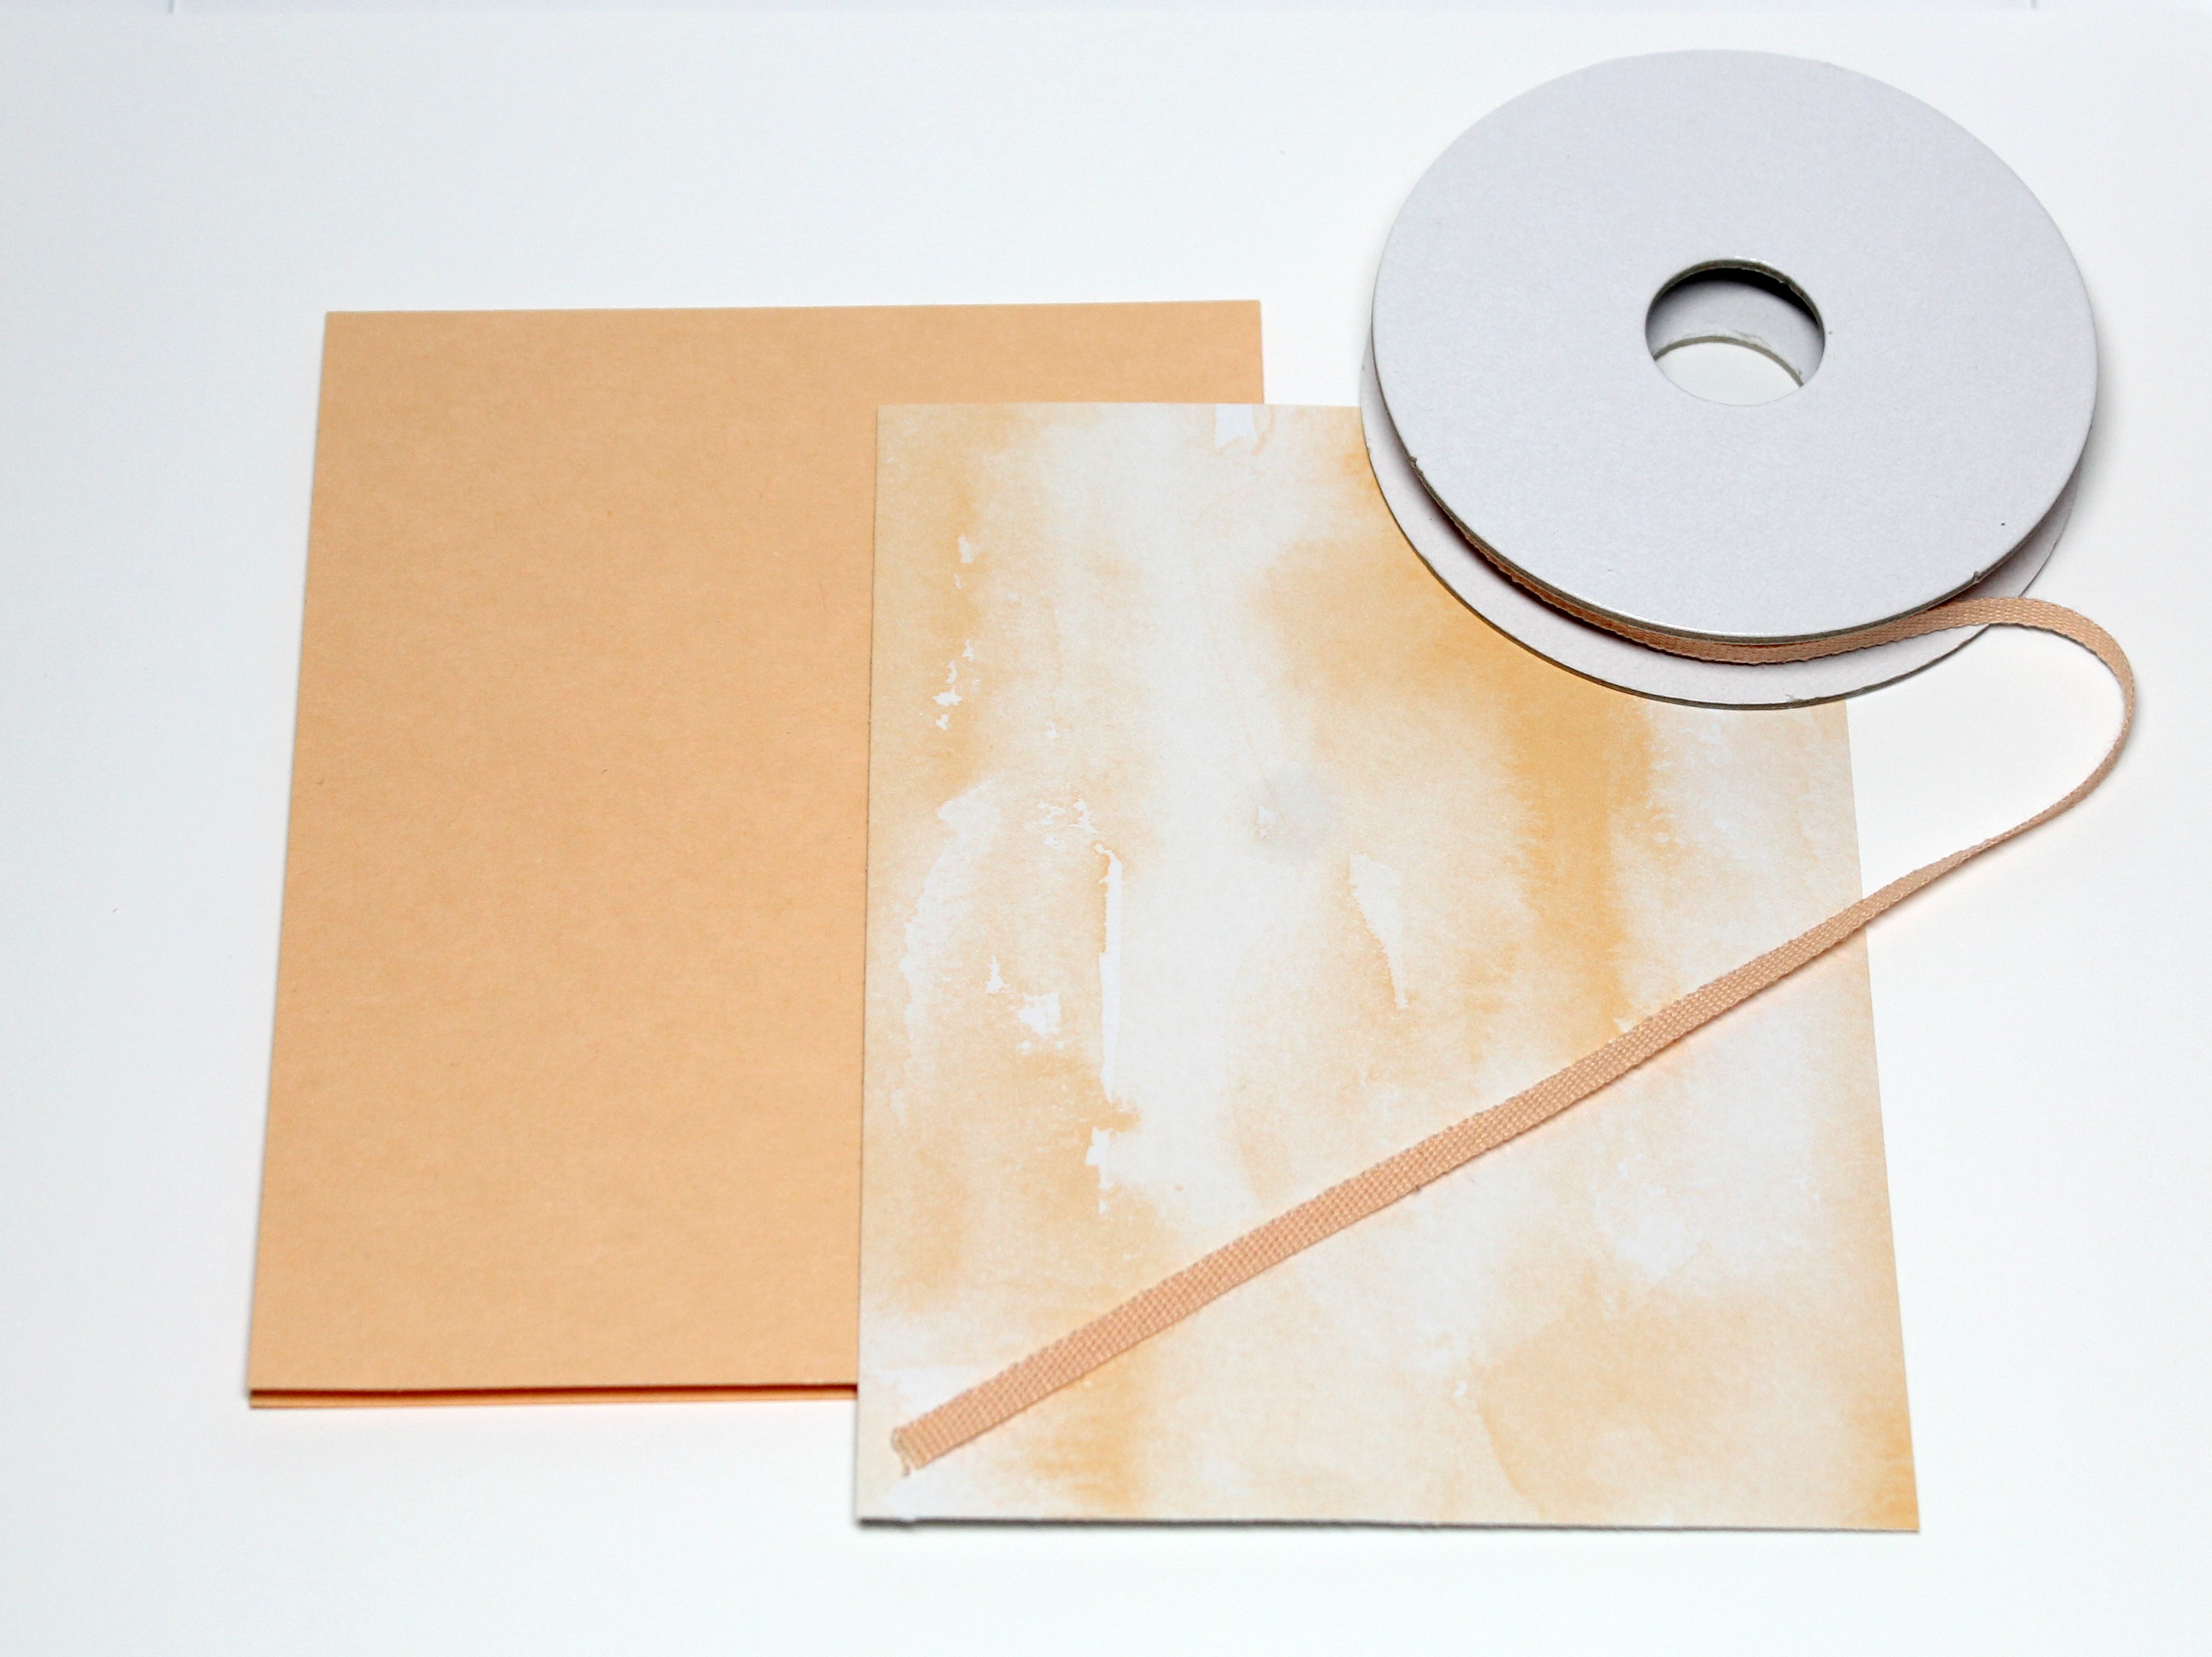
Pale Papaya Card Base - 4 1/4" x 5 1/2"
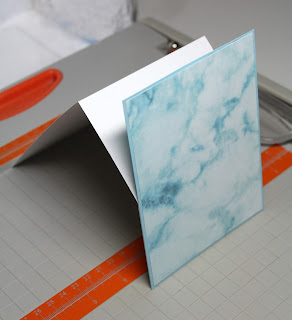
Designer Paper Layer - 4" x 5 1/4"
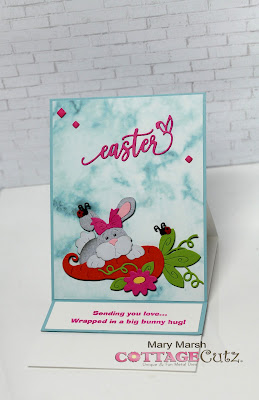
I cut the envelope, tulips and kitten in colors that coordinated with the papaya cardstock I was using. All paper is from Stampin' Up
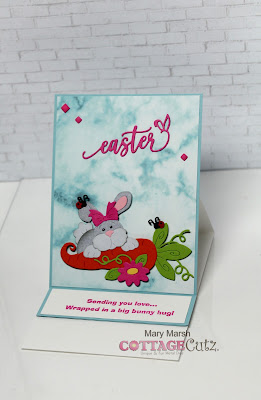
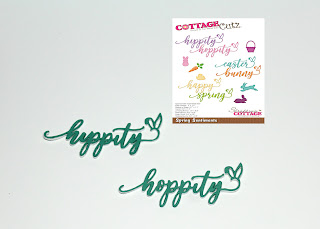
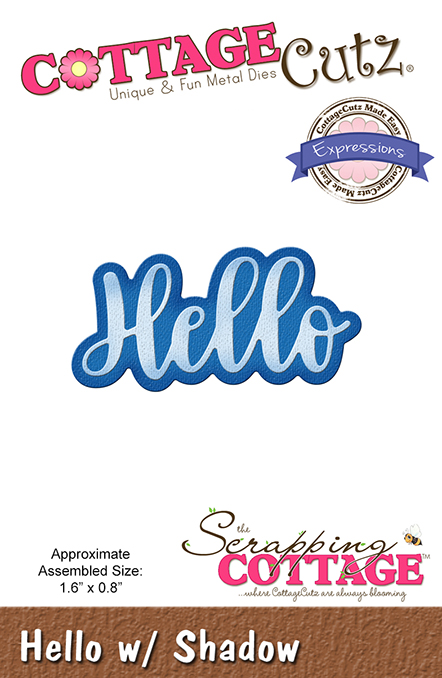
I cut the hello phrase from the Hello w/Shadow die. I used coral cardstock and sponged the shadow layer for a color variance.

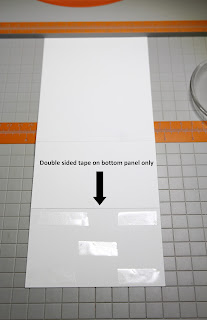
Now I am ready to start card assembly. I attached the ribbon and designer paper to the card base with double sided tape.
The image and hello phrase are attached with dimensional adhesive. I scattered some enamel dots and that completes my card and this post. So until next time.......God bless.

dies I used to create card:
I am also entering:
1.  Crafty Calendar challenge is spots/stripes or Easter.
2.  C.R.A.F.T. challenge is anything goes. 
3.  A Gem of a Challenge has an anything goes.   
4.  Through the Craft Room Door has an anything goes challenge. 
5 Polkadoodles has an anything goes challenge. 


Friday, March 25, 2022

Bunny Baker

Hello Blogger Friends! Thanks for taking the time to stop and visit with The Charmed Life Blog today. It was a cloudy, overcast and chilly day here in Pittsburgh. One of those cold days where you want to stay inside and do something crafty. And that's exactly what I did. 

We are going back to winter like temperatures this weekend. Although that's what happens here in Pittsburgh in early Spring. Just like early Fall when we still have summer temps. I am reminding myself here, Blog readers. (lol)

Anyway, onto my card for today. This one I created for the Splitcoaststampers color challenge #. We were to use real red, pool party and petal pink for our color trio. 
pool party, real red, petal pink

For my card I decided to go with an Easter card. This one will go to my neighbor who is an avid baker. I have enjoyed many of her homemade treats.

I used the Spring Bunny Baker die from CottageCutz for the main image. I don't have petal pink cardstock so I used a combo of pretty in pink + polished pink.

I also used some neutrals for my card- baked brown sugar, soft suede and basic gray. The background designer paper is from the Stampin'-Up "simply marbelous" collection. It features the pool party color. 

My sentiment is from the Bunny Kisses and Easter Wishes die from CottageCutz. My card is a bit larger than I usually make- it's 4 3/4" x 6". But the larger length allowed me to use larger oval dies to fit my bunny image.

Well that's it for me for this post. So until next time.......God Bless. 

dies I used to create card:


I am also entering:
1.  Crafty Catz has an anything goes with optional of Easter. 
2.  Cut It Up has a Spring Project using a die. 
3.  Aud Sentiments has an Easter or Spring sentiment challenge. 
4Craft Rocket Challenges wants us to use an animal. 
5The Paper Shelter has an animal's challenge.  


Tuesday, March 15, 2022

Spring Bunny with Carrot

Hello Blogger friends! Thanks for taking the time to stop and visit with The Charmed Life Blog today.

We had a big snowstorm over the weekend, and it dropped about 6-7" of snow in our area. But today it's mostly melted away. We are on a current warmup and just traces of the snow remain. It's so typical of the weather in our area this time of year. 

Now let's move onto my card for today. This one I created for my weekly DT post on the CottageCutz Blog. I created an Easel card for Easter for one of my great nieces. She is 5 years old and will love this. 

Design Steps:

For those of you that like videos here is a link to one on Splitcoaststampers.

Start out with a 4 1/4" x 11" piece of cardstock and score at 5 1/2" and 8 1/4". Your card front piece will measure 4 1/4" x 5 1/2. I used white cardstock for my base color.
I wanted some designer paper as a base for the bunny image. I found this piece of blue designer paper that has a marble effect and a piece of matching blue cardstock for my card front.

designer paper layer: 4 1/8" x 5 3/8"
blue cardstock layer: 4 1/4" x 5 1/2"

I attached this panel to the bottom flap of the card base using double sided tape. You just secure the bottom panel only.

Next, I cut my bunny image with various colored cardstock.

I stamped my bunny sentiment on white cardstock and then mounted it on the blue that coordinates with the upper part of the card. I am also using this as my ledge for the easel to rest on. I added an additional piece of blue cardstock to make it a bit more secure. Stamp is an older one from Great Impressions Stamps. they aren't in business any longer. 
I attached the bunny image to the designer paper panel with dimensional adhesive. The sentiment panel is attached 1 1/2" from the card bottom with double sided tape.
I decided to add the Easter phrase to the top of the card. I cut it 2x in magenta cardstock and secured to panel with Art Glitter glue. Added a few magenta enamel dots to finish off my card. This card does fold flat so it will fit in a standard A2 envelope.
Well, that's it for me for this post. So, until next time.......God bless. 

dies I used to create card:

I am also entering:
1.  Retro Rubber Challenge #178 is anything goes with an older stamp. Mine is about 10 years old.
2.  International Art & Soul has an Easter Chicks or Rabits challenge. 
3.  Critter Crazy is anything goes with a featured critter. 
4.  Crafty Animals has an anything goes with an animal. 


Saturday, March 5, 2022

Hippity Hoppity

Hello Blogger Friends! Thanks for taking the time to stop and visit with The Charmed Life Blog this first Saturday in March. 

We are expecting Spring like weather today in our area. My hubby and I were already out for a 3 mile walk this morning. It is still brisk, but we quickly warmed up. Our walking path takes us around our high school grounds. Kids were already out practicing on the fields and on the track with their respective sporting teams. So good to see and mask free!

Now onto my card for today. This one I created for my weekly DT post on the CottageCutz Blog. I used the new Spring Window w/Peekers and the Spring Sentiments dies. I thought this card would be perfect for the two little ones who live next door to me. So, let's get started on some details of how I created my card.

 Design Steps:
Since I knew the image die I was going to use, I looked for some background designer paper with a brick pattern.  I selected this one from the Stampin' Up bloom where you are planted" collection because I liked the color of the brick, so I paired it with the matching cardstock and then a just jade cardstock base.

Just Jade card base: 4 1/2" x 5 3/4"
Cinnamon Cider layering panel: 4 3/8" x 5 5/8"
Cinnamon Cider designer paper: 4 1/4" x 5 1/2"

Next, I cut the window and bunny with colored cardstock that coordinated with the designer paper and card base.

I cut out my hippity - hoppity phrase in the jade cardstock. I cut it 2x in jade and then once in white foam sheet and glued together with Art Glitter glue.
Now that my elements are prepared, I am ready to start card assembly. I attached the designer paper to the cinnamon layer with double sided tape. Then the window is secured with dimensional adhesive. I wanted it lifted off the panel to give it more depth.

I removed the backing from the white foam and attached the hippity hoppity phrase to my card. Then attached the image panel to the jade card base to complete my card. And, that's my card for this post. So until next time.......God bless. 
Dies I used to create card:


I am also entering:
1.  A Gem of a Challenge is anything goes. 
2.  Crafty Calendar has a spots/stripes or Easter challenge.
3.  Creative Fingers has an anything goes challenge. 
4.  Aud Sentiments has an Easter or Spring sentiment challenge. 
5.  Craft Rocket challenge wants us to use an animal. 
6.  Simon Says Stamp wants us to add a die cut. 


LinkWithin

Related Posts with Thumbnails