Hello Blogger Friends! Thanks for taking the time to stop and visit with the Charmed Life Blog. Hope your weekend was a good one.
Ours was a bit busy but it was fun busy. We had the opportunity to spend time on Saturday with friends and then today with family. Both days involved birthday celebrations.
A friend of ours moved to North Carolina and she spent last night at our house. She left early this morning before church. I enjoyed our evening together. It's always hard to see good friends move away. You have plans to visit each other but somehow life gets in the way and your friendship starts to fade.
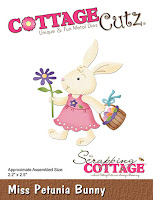
Don't want to get too nostalgic so let's move onto my card for today. This one I made for my weekly DT post on the CottageCutz Blog. I am using the new Miss Petunia Bunny die to create an Easter card. She is just the cutest little thing. So let's get started with some details on how I created my card.
Step 1: This week I started my card with a sketch. I am using the Viva la Verve February sketch. I thought it would work perfectly to showcase Miss Petunia as well as add layers to my card. Since I like to use patterned paper, the addition of layers to my cards always works for me.


Patterned Paper Layer: 4 1/8" x 5 3/8"
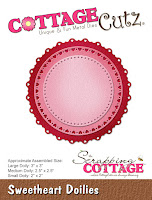
Berry Burst Doily Circle: I used the largest of these dies
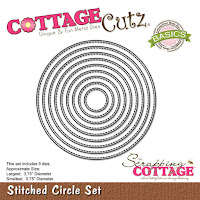
White Stitched Circle: I used the 4th largest of these dies
Berry Burst rectangle Layer: 1" x 5 3/8"
Step 3: I cut Miss Petunia Bunny using different colored cardstocks. The eggs in her basket I cut in white cardstock and then colored with distress inks - spun sugar, seedless preserves, tumbled glass, squeezed lemonade. Used a little pink chalk to add some color to her floppy ears. Attached the body pieces using Ranger multi matte medium.


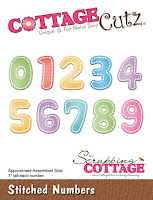
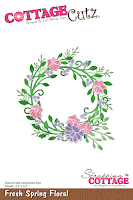
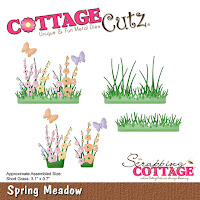
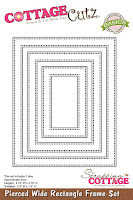
Dies I used to create card:


I am also entering:
1. Allsorts Challenge has something that starts with the letter "B"
2. Crafty Friends has a Springtime challenge.
3. Cute Card Thursday has a cute critters challenge.
4. Sweet Stampin' has a Spring has sprung challenge.