I can't believe I am saying the last week in October. Wow - soon Thanksgiving and then Christmas. This is my favorite time of year with the upcoming holidays. The trees are finally changing colors in our area and my neighborhood is ablaze with color.
I want to go and pick a few leaves today so I can take them into preschool and show the kids. We have been talking about leaves changing colors and I want to show them. Visuals are good for 3 year olds.
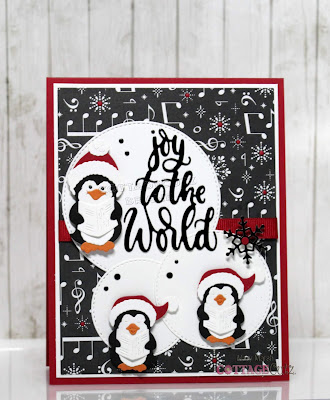
Now onto my card for today. This one I created for my weekly DT post on the CottageCutz Blog. I used the new Santa's Workshop die. So let's get started with some details on how I created my card.
My designer papers are from the Stampin'-Up "Let it Snow" collection. I like the festive look of the pattern I chose. The coordinating colors are coastal cabana and real red. I used real red ribbon to join the panels where they meet.
Since I was using ribbon and I didn't want it to show on the inside of the card, I cut another piece of white cardstock 5 1/2" x 4 1/4". I taped the designer paper to this layer and then wrapped the ribbon. I then attached it to my white card base. It really doesn't add much weight so no issues on mailing.
White Card Base: 5 1/2" x 4 1/4"
Designer Paper Panels: 5 1/2" x 2 1/8"
I cut Santa's Workshop with a combo of Christmas red and green cardstocks. I stuck pretty much to the packaging colors. I stamped the Santa sentiment on the light post. Even though there are several pieces to this die, it came together quickly, And, if you were to cut the pieces in white then color it would even be faster.
I wanted the Santa Workshop image on a circle. I used the 2nd largest die from the Circle Set and 2nd largest Stitched Circle dies. I sponged some clouds using a cloud stencil on the white circle in cracked pistachio distress ink. This color coordinated with my coastal cabana cardstock and designer paper.I attached the Santa Workshop image using dimensional adhesive.
Attached this image panel to the card base with dimensional adhesive. I cut 2 small tufts of red ribbon and added them to the side. Just for a little card interest. I wanted a sentiment on the card and my original thought was to stamp on a flag banner. But it just didn't fit this card. So I stamped directly on the designer paper using a spruce ink.
And that's my card for today. Have a great fall weekend and until next time...…..God bless.
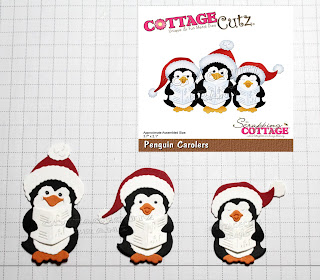
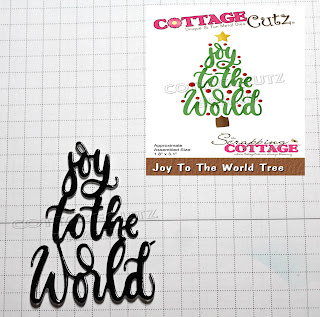
dies I used to create card:
I am also entering:
1. Winter Wonderland has a Merry and Bright challenge.
2. Crimbo Crackers has an anything goes Christmas challenge.
3. Craftyhazelnut's patterned paper has an anything goes.
4. The Holly and Ivy Christmas challenge is anything goes.
5. A Bit More Time to Craft has an anything goes challenge.


