Saturday, August 5, 2017

Mr & Mrs Wedding card

Hello Blogger Friends and a happy Saturday to you all! Thanks for taking the time to stop and visit with the Charmed Life Blog.
 
Another weekend is upon us. Hope you have some fun plans. Today, I am going to the Honda dealer to attend a class covering features of the CRV we just purchased. Nearly everything on the newer cars is programmable which I didn't have on the 2004 model we traded in. They will cover all the features and then answer questions. If time permits they will sit in your card to show you exactly how a feature works.
 
Tomorrow I am attending a baby shower for my niece. I haven't purchased a gift yet so that is on the agenda for today as well. Hopefully, there is something left on her registry.
 
Now onto my card for today. This one I created for my weekly DT post on the CottageCutz Blog. So lets get started with some details on the card I am showcasing today.

Step 1: I start my cards each week in several different ways. Today, I started with my card colors. That made it easy because these are the ones the Bride has chosen for her wedding. I looked through my paper stash for colors that matched along with patterned paper. I chose a soft green, a rich espresso brown and peach as my accent colors. I am also using a peach ribbon. I assembled these parts of the card at this point.
Green Card Base: 5 1/2" x 4 1/4"
Espresso Layering Panel: 5 3/8" x 4 1/8"
Patterned Paper Panel: 5 1/4" x 4" 
Step 2: I decided to use the Mr & Mrs with Hearts and frame it with the Nested Stitched Doily dies. I assembled this part of my card and attached to the base panel. I used dimensional adhesive to attach it to card. It adds depth to your card. 


Step 3: I also wanted to finish the inside of my card. I don't usually do this with anything more than a sentiment. The exception is wedding cards.  I like to add other embellies to make it a little more special for the couple. So for this card I used the Rose with wedding rings, Love Phrase.and the  Nested Scallop Rectangle dies.
I adhered the images to the scallop panel. Take notice of the wedding rings that are part of the rose die. The hearts were leftover when I cut the Mr & Mrs phrase.
 Attached the decorated panel to the card inside. The espresso is such a rich shade of brown and complements the green nicely. The bride chose some beautiful colors for her wedding.
I decided to add a bow to the card front. It just seemed a little more complete. I don't have to mail this card so no worries that my bow will get ruined. And this completes my card for this post. I hope I have given you another idea on how to use these new wedding dies. So until next time.........God bless.
Dies I used to create card:
http://www.scrappingcottage.com/cottagecutzmrandmrswithhearts.aspx

http://www.scrappingcottage.com/cottagecutzrosewithweddingrings.aspx

http://www.scrappingcottage.com/cottagecutznestedscalloprectangleset.aspx

http://www.scrappingcottage.com/cottagecutznestedstitcheddoilyset.aspx


Friday, August 4, 2017

~Snowflakes Sparkle ~

Hello Blogger Friends! thanks for taking the time to stop and visit with the Charmed Life Blog.
 
I am slowly getting caught up with life after my son and his family visited last week. I feel as though I am behind on things around my home and also behind in my crafting and Blog posting.
 
Even though time may get away from me for a bit, eventually I always seem to catch up with it. At least that's how it works with me. I make myself a schedule and stick to it until I have my routine back in some semblance of order. I just realized today that I had no plan of attack. So I made a schedule of things I want to accomplish in the next few days. Tasks eliminated always make me feel better.
 
old olive, soft suede, gold
So that being said, let's move onto my card for today. This one I made for the color challenge #643 on Splitcoaststampers. Pam was our hostess and she chose old olive, soft suede and gold for her color trio. Optional this week was Christmas Greenery: Wreaths, Boughs, Trees etc.
I went with the Christmas theme since that was our optional item. My background is the vertical snowfall die from MFT. I cut in whisper white cardstock and then added gold foil paper behind the snow to create sparkly snowflakes. I extended the gold paper for added interest on the card left.

Created snowy hills with a Lawn Fawn die and placed the pine trees on the snow banks. I used chunky glitter on both the hills and trees. Cut my star from the same gold foil paper and added some deer.

Chose this sentiment from PTI to reflect the sparkly gold snowflakes and the glistening trees. And, I have another Christmas card for my stash. Well, that's it for me for this post. So until next time........God bless.
 
Card details:
Stamps: in the meadow (PTI)  
Paper: old olive, soft suede, whisper white (Stampin'-Up), gold foil paper (Recollections)  
Paper Size: A2
Ink: tuxedo black (Memento)
Accessories: snowy tree, snowglobe winter accessories dies (CottageCutz), vertical snowfall die (MFT), Northern Star (Frantic Stamper), stitched hillside dies (Lawn Fawn), chunky glitter (Stampin'-Up)  
 
I am also entering:
1. The Merry Christmas challenge wants us to use animals.
2.  CHNC Challenge Extra is anything goes
3.  The 12 Months of Christmas has an anything goes challenge.
4.  A SnowFlake's Promise has an anything goes challenge.
5.  The Holly and Ivy Christmas Challenge is anything goes.
6.  Merry Monday Christmas Challenge has a summer link up. I used #247 -non-black silhouettes
 

Saturday, July 29, 2017

Wedding Carriage

Hello Blogger Friends and a happy Saturday to you. Thanks for taking the time to stop and visit with the Charmed Life Blog.
 
It's been a week since I posted on my blog but for good reason. My son and his family were in from San Francisco for a visit. We had such great family time and of course my sweet 6 year old granddaughter just touches my heart.
 
Now the hustle and bustle of the visit is over and I enjoy her company via FaceTime on our I-pads. She calls me 3x a day now that she is back home. That will subside once she gets used to being back home and gets into their routine.  It's fun hearing from her though.
 
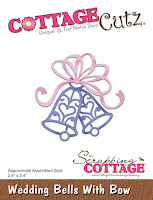
Now onto my card for today. This one I created for my weekly DT post on the CottageCutz blog. Today, I am featuring the new Wedding Horse & Carriage and the Wedding Bells with Bow dies. So let's get started with some details.
 
I am attending an outdoor wedding in September that will be held at a farm type venue. I have seen the property and rustic elegance would be a perfect description. The ceremony will be held in front of a lake on the property and the bride will make her appearance in a carriage. So the new wedding horse & carriage die was spot-on for my card idea.
Step 1: I like to make wedding cards with the same colors that the bride has chosen. I always think that's a great compliment to her. I am using chocolate, pearlized gold and a copper metallic paper. Found these papers in my stash that are a good match for her wedding colors.
 
Chocolate Card Base: 5 1/2" x 4 1/4"
Pearlized Gold Layer: 5 1/4" x 4 1/8"
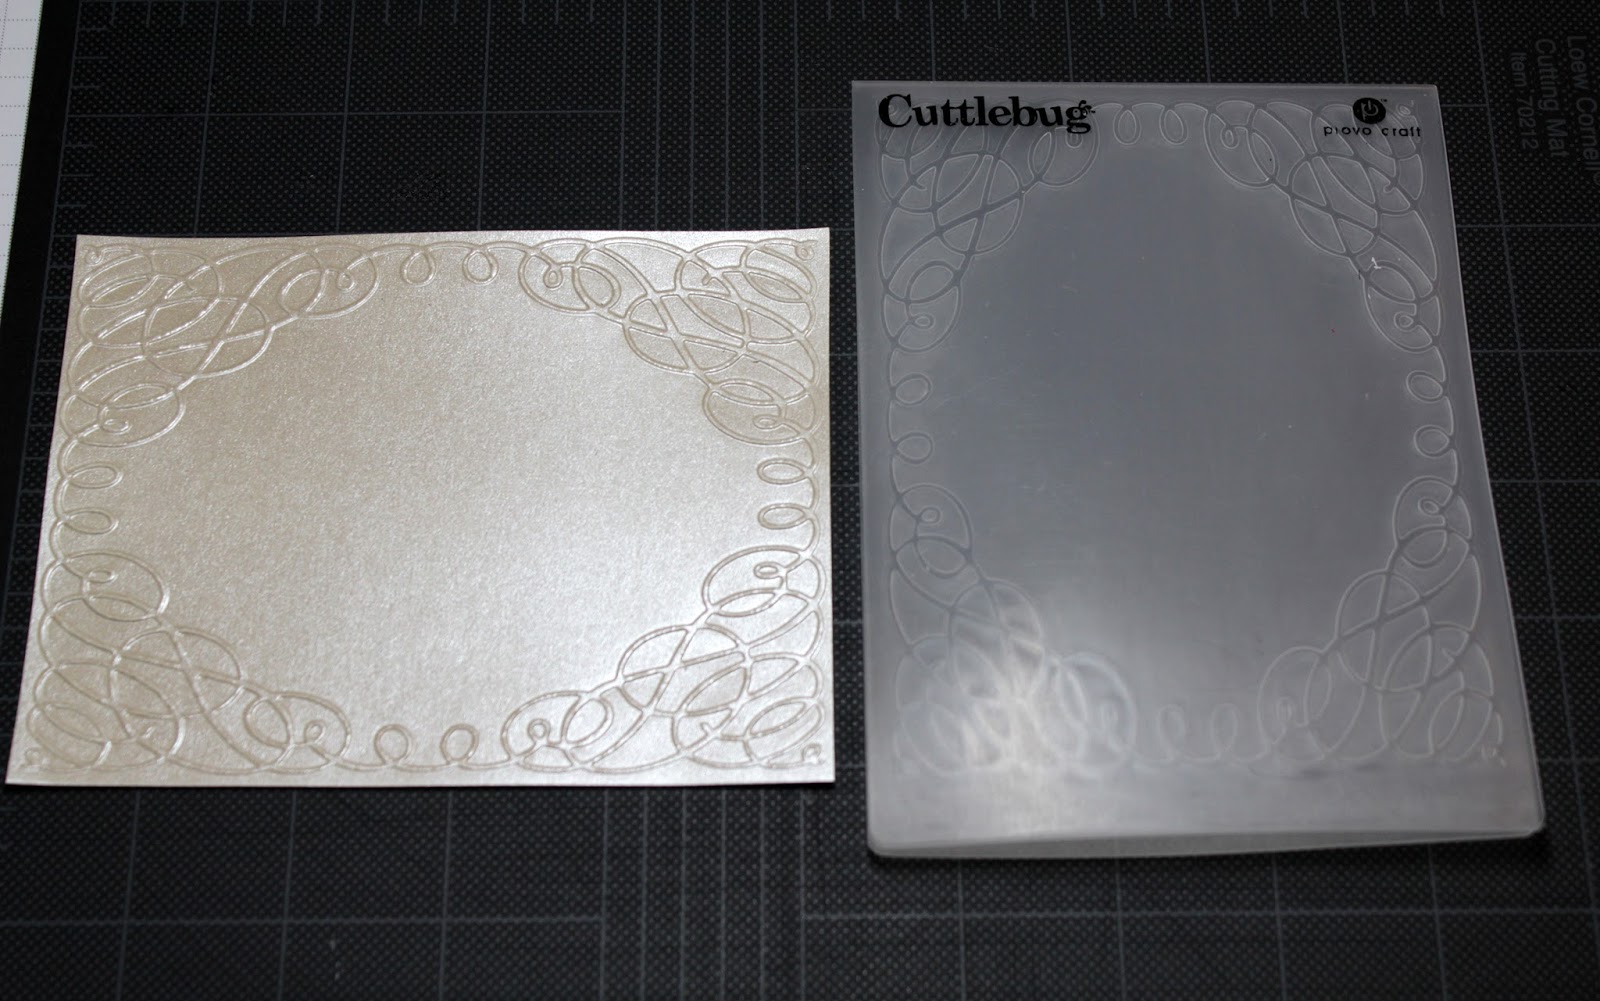
Step 2: Embossed the pearlized gold panel with a scrollwork embossing folder. I like the added interest it gave my card.
Step 3:  Cut all the die cuts at this point. The horse & carriage are cut in chocolate,  and the bells and bow are cut in copper. I wanted another layer to my card so I used the largest stitched oval die as a backdrop for the carriage and bow.
Step 4: Decided to add some burlap ribbon to enhance the rustic appeal of my card. Just a strip across the middle of the embossed panel will work fine.  Attached the dies to the oval panel and added a couple of copper hearts.

 
Step 5: Since I had the bells already cut in copper, I used them to finish the inside of my card. Added another layer of the pearlized gold cardstock, more hearts and the celebrate phrase completed the inside. The hearts are part of the new Mr & Mrs with hearts die.
 
Well, that's it for me for today. So until next time.........God bless.
 
dies I used to create card:
http://www.scrappingcottage.com/cottagecutzweddinghorseandcarriageelites.aspx

http://www.scrappingcottage.com/cottagecutzweddingbellswithbow.aspx

http://www.scrappingcottage.com/cottagecutzmrandmrswithhearts.aspx

http://www.scrappingcottage.com/cottagecutzexpressionspluscelebratephrase.aspx
 
 I am also entering:
1.  Just Us Girls has a something old/something new challenge. I used new dies, old burlap ribbon, old embossing folder and old pearlized paper.
2.  Brown Sugar has an anything goes challenge.
3.  Simply Create Too has a Wedding challenge.
 

Saturday, July 22, 2017

~ Garden Bride & Groom

Hello Blogger friends! Thanks for taking the time to stop and visit with the Charmed Life Blog.
 
I have scheduled this post and as you are reading it, I am enjoying a visit with my sweet granddaughter Phoenix daisy. She brought her parents along as well (lol)!!
 
This card that I am showing today is one that I created for my weekly DT post on the CottageCutz blog.
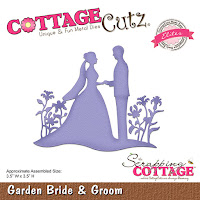
I am featuring the new Garden Bride & Groom die as well as the new nested Stitched Scallop Rectangle die.

I have a wedding to attend soon and this die is perfect. I like the elegant appeal of this silhouette image. So I created a card a bit more on the clean and simple side to keep the bride & groom die cut as the central focus.

Let's get started with some details on how I created my card.

Step 1: When I make wedding cards, I usually choose the colors the bride has chosen for her wedding. In this case, it's a rich denim blue and a soft pink. I cut the scallop frame in the denim and then the bride & groom in white. I used the largest of the scalloped rectangle dies for my frame.
Step 2: I decided to stamp my sentiment on the card base before I placed any of the card elements. Used my stamp-a-ma-jig to help with the placement and to keep it straight. I stamped in the denim ink. I thought this sentiment worked so well with this bride & groom image.
Step 3: As I thought of ways to incorporate the pink into my card, I decided to use some ribbon. It dresses up a card nicely and adds interest. My card base is a little larger than what I usually do.
Card Base: 5 7/8" x 4 3/4"
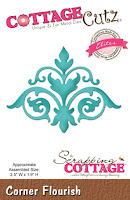
Step 4: Attached the bride and groom to the scalloped frame with double sided tape. Once that was placed I die cut the corner flourish. I cut them first in white but it just didn't have enough pop. Once I tried the denim blue I liked the look. I used the corner flourish die. Attached the flourishes with mini glue dots.

Step 5: Finished off my card by adding a couple of pink hearts cut from the new Mr. & Mrs. die
Well, that's it for me for this post. So until next time.....God bless.
 
dies I used to create card:
http://www.scrappingcottage.com/cottagecutzgardenbrideandgroomelites.aspx

http://www.scrappingcottage.com/cottagecutznestedscalloprectangleset.aspx

http://www.scrappingcottage.com/cottagecutzcornerflourishelites.aspx

http://www.scrappingcottage.com/cottagecutzmrandmrswithhearts.aspx


Tuesday, July 18, 2017

Christmas Star

Hello Blogger Friends! Thanks for taking the time to stop and visit with the Charmed Life Blog.
 
I am getting ready for a visit from my son and his family the end of this week. My precious 6 year old granddaughter will be here for a week. It will be such a wonderful family time.
 
We also will be having our annual extended family picnic on Saturday. That will be a great time as well. My brother hosts this at his home. His house is large and laid out in a way that the 70 of us that show up won't be crammed in there. He also has a huge backyard, patio and deck that accommodates everyone nicely. This year he added a pool for those that will want to swim.
 
Now onto my card for today. This one I made for the color challenge #642 on Splitcoaststampers.  Barbara was our hostess and she chose tranquil tide, pool party and silver for her color trio. Optional was Christmas in July.
 
tranquil tide, silver, pool party
For my card I decided to use the Stampin'-Up set "star of light". I saw this card on Pinterest as inspiration. I used different colors, added additional layers and silver stars to make it my own.

On the horizontal rectangle panel I stamped the star swirl in tranquil tide ink. Layered that over tranquil tide cardstock.
On the image panel, I stamped the star light trails in tranquil tide ink. The MISTI was a great help with placement.
The stars are cut with the matching dies to this set-in pool party, tranquil tide and silver.

I stamped some additional stars in the upper left corner and added a couple of silver stars to the star swirl.
My Merry Christmas sentiment is also from the star of light set. I cut a banner with an MFT die in pool party cardstock and stamped in tranquil tide ink.
 
Well that's it for me for this post. So until next time.........God bless.
 
card details:
Stamps: star of light (Stampin'-Up)
Paper: : pool party, tranquil tide, whisper white, silver  
Paper Size: A2
Ink: tranquil tide
Accessories: starlight thinlits (Stampin'-Up), flag dies (MFT), MISTI  
I am also entering:  
1.  Christmas All Year Round has an anything goes challenge.
2.  Creative Craft Cottage has a Christmas in July challenge.
3.  Die Cut Divas has a Christmas in July Challenge
4.  Weekly Christmas Card Challenges has an anything goes.
5.  CHNC #342 is anything goes Christmas. Optional use a die-cut


Saturday, July 15, 2017

~ Honeymoon Car ~

Hello Blogger Friends! Thanks for taking the time to stop and visit with the Charmed Life Blog on this Saturday in July.
 
Hope you have some fun plans for the weekend. Today we are going to my next door neighbor's baby gender reveal party. She is pregnant with her first baby and today the sex will be revealed.
 
Only her friend knows the baby's sex and we will all find out together. I have never been to a reveal party before so I am looking forward to it. As I type this post her hubby has a pig on a spit roasting over a wood fire in the backyard. It smells so delicious. I have my windows open and the scent is wafting in.
 
But now it's time to move on with this post. Because, I have an appetizer to prepare for the event. This is my card for my weekly DT post on the CottageCutz Blog.
 
Today, I am sharing a sneak peak of some new dies that will be released over the weekend in the online store. There are 20 new wedding dies and 17 fun new nesting shapes. Today I am showing the new Honeymoon Car die and I placed it inside a Wacky Stitched Circle Die. I also used the Love Phrase word die.

So let's get started with some details on how I created my card.

Step 1:  I started my card this week by choosing my card colors. Since this is a wedding card, I wanted the colors to be bright and fun. I decided on blushing bride, mint green, and rose red as the main card colors.
Rose Red card Base: 4 1/2" x 5 1/2"
Blushing Bride Layering panel: 4 1/8" x 5 3/8"
Blushing Bride Designer Paper Panel: 3 7/8" x 5 1/8"
Step 2: I cut my wacky stitched circle in a shimmery vanilla cardstock. The Honeymoon Car is cut in the mint green along with the other card colors. The detail on the CottageCutz dies is always amazing and this new car is no exception. Plus, I love the stitching on this new die and we have other shapes coming with the same stitching.
 Step 3: I started assembly of the card. At this point I wanted to stamp my sentiment. I am only going to use the words forever and always from my stamp. So I taped off the other words and used my stamp-a-ma-jig for placement. I didn't tape all the way to the top of the stamp. When I inked my stamp, I had the top part of stamp off the ink pad.
I placed my love word temporarily on my card just to see where I was going to place the sentiment. That way I don't have any interference from other cardstock and I get a good image.


Step 4: I adhered my honeymoon car image to the wacky stitched circle panel. Used dimensional adhesive to lift it off the circle panel. It always adds depth to your design. I love the balloons and tin cans that are part of this die. Just the way the bride and groom car gets decorated for their departure. So cute! Love this new die.
Step 5: Finished my card assembly. I used double sided tape for all the layers, multi medium matte for my Love word phrase.
 
Well, that's it for me for this post. So until next time.......God bless.

Dies I used to create card:
http://www.scrappingcottage.com/cottagecutzexpressionspluslovephrase.aspx
 

LinkWithin

Related Posts with Thumbnails