
Hello Blogger Friends and a happy Saturday to you. Thanks for taking the time to stop and visit with the Charmed Life Blog.
It's been a week since I posted on my blog but for good reason. My son and his family were in from San Francisco for a visit. We had such great family time and of course my sweet 6 year old granddaughter just touches my heart.
Now the hustle and bustle of the visit is over and I enjoy her company via FaceTime on our I-pads. She calls me 3x a day now that she is back home. That will subside once she gets used to being back home and gets into their routine. It's fun hearing from her though.
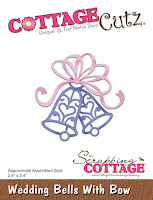
Now onto my card for today. This one I created for my weekly DT post on the CottageCutz blog. Today, I am featuring the new Wedding Horse & Carriage and the Wedding Bells with Bow dies. So let's get started with some details.
I am attending an outdoor wedding in September that will be held at a farm type venue. I have seen the property and rustic elegance would be a perfect description. The ceremony will be held in front of a lake on the property and the bride will make her appearance in a carriage. So the new wedding horse & carriage die was spot-on for my card idea.
Step 1: I like to make wedding cards with the same colors that the bride has chosen. I always think that's a great compliment to her. I am using chocolate, pearlized gold and a copper metallic paper. Found these papers in my stash that are a good match for her wedding colors.
Chocolate Card Base: 5 1/2" x 4 1/4"
Pearlized Gold Layer: 5 1/4" x 4 1/8"

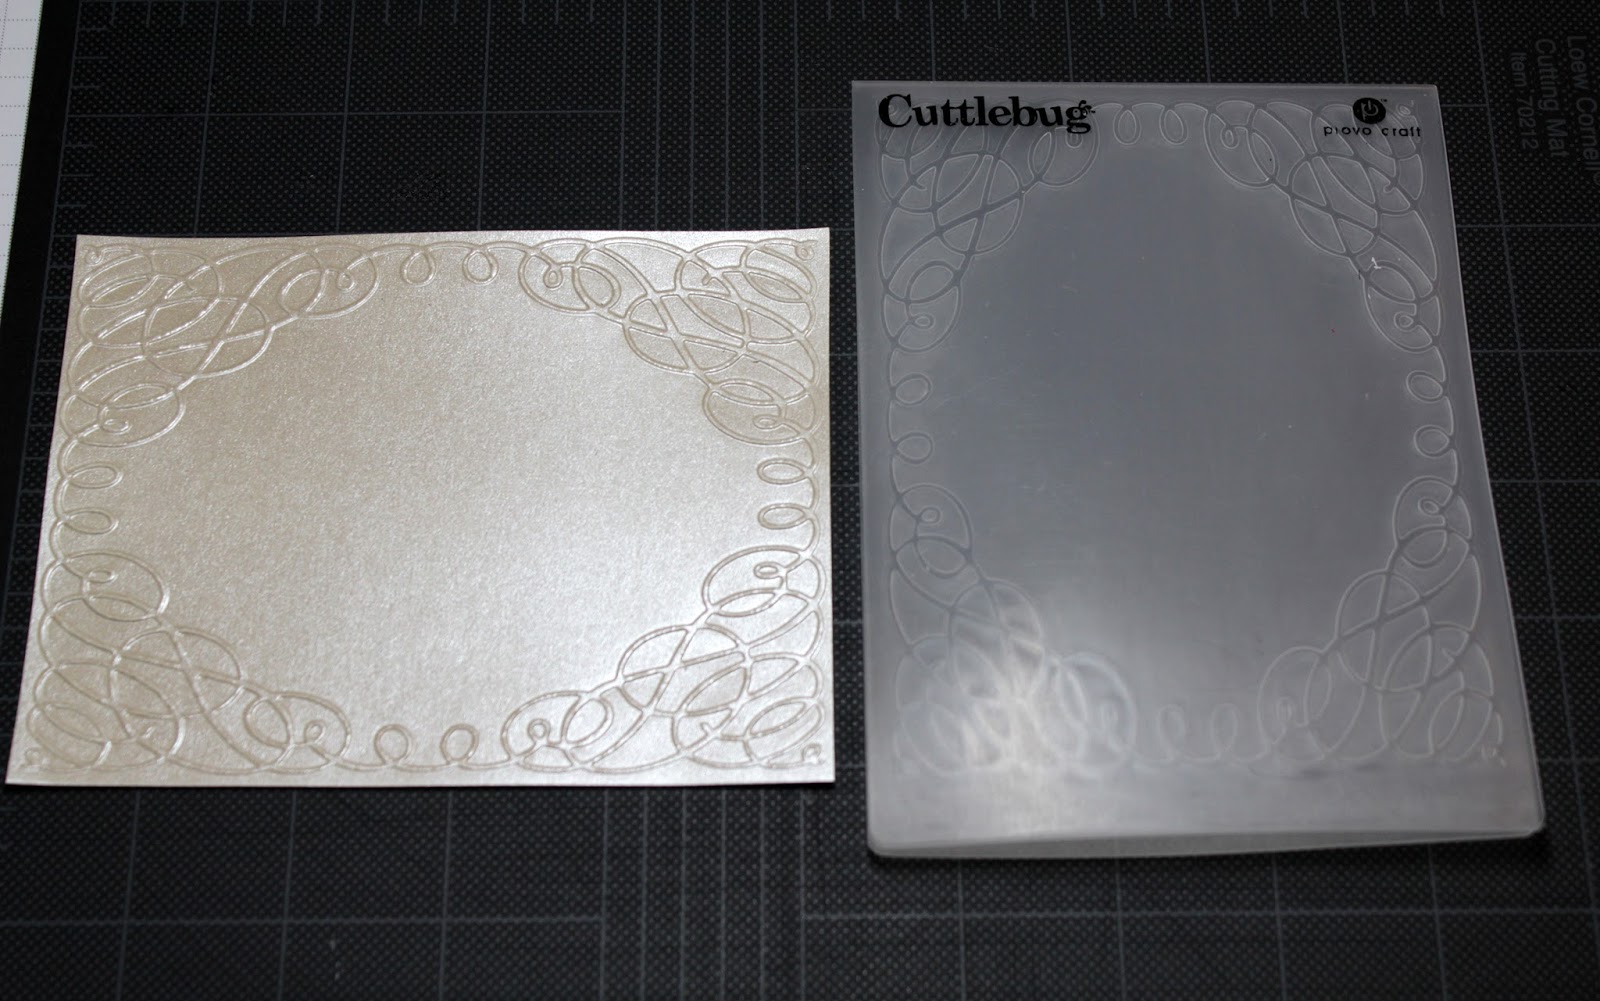
Step 2: Embossed the pearlized gold panel with a scrollwork embossing folder. I like the added interest it gave my card.
Step 3: Cut all the die cuts at this point. The horse & carriage are cut in chocolate, and the bells and bow are cut in copper. I wanted another layer to my card so I used the largest stitched oval die as a backdrop for the carriage and bow.

Step 4: Decided to add some burlap ribbon to enhance the rustic appeal of my card. Just a strip across the middle of the embossed panel will work fine. Attached the dies to the oval panel and added a couple of copper hearts.


Step 5: Since I had the bells already cut in copper, I used them to finish the inside of my card. Added another layer of the pearlized gold cardstock, more hearts and the celebrate phrase completed the inside. The hearts are part of the new Mr & Mrs with hearts die.

Well, that's it for me for today. So until next time.........God bless.
dies I used to create card:


I am also entering:
1. Just Us Girls has a something old/something new challenge. I used new dies, old burlap ribbon, old embossing folder and old pearlized paper.
2. Brown Sugar has an anything goes challenge.
3. Simply Create Too has a Wedding challenge.


Such a pretty card. I'm sure the couple will be touched by the details. Glad you had some in person family time!
ReplyDelete