
Hello Blogger Friends! Thanks for taking the time to stop and visit with the Charmed Life Blog.
This morning our Preschool attended an early education event at a local high school this morning. It was put on by the local teachers and they invited area pre-schools, day-care centers, the local library and some government sponsored organizations.
We had lots of interest in our preschool. We are getting quite a good reputation in our community. Our classes are already filled for next year.
But, let's move on to my post for today. Cause it's a long one with a tutorial and lots of pictures. I made this cute Easter Basket for my weekly DT on the CottageCutz Blog.
I have seen quite a few baskets made using the Envelope Punch Board and I may try one of those soon. But, I realize that not all of you may have that tool. So my basket is made with dies and a scoring tool. I have loads of pictures for the process but here is a link to a video.
So let's get started on what I did for my project.
Step 1: The basket uses one sheet of 8 1/2" x 11" cut as shown in the following template.

My first cut was at 4 1/2" x 11". Then cut this piece in half to measure 5 1/2" x 4 1/2". Used these pieces for my basket sides. The next piece used for the basket itself was cut at 4" x 6 1/2". My last cut was 4" x 4 1/2". I used this piece to cut the basket handle.

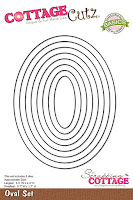
Step 2: I used the largest Stitched Oval die for my basket sides. I cut 2 ovals using the 4 1/2" x 5 1.2" cardstock piece. For the handle, I used the Oval die set - Choosing the 1st and 3rd largest dies in the set. The cardstock piece is the 4" x 4 1/2" panel.


Step 3: I was now ready to complete the scoring on the 4 x 6 1/2" panel. First score was at 1/2" on both sides of panel in portrait mode. The 2nd score is at 2". This was done on both sides of cardstock. Used a bone folder to crease all score lines. Also make cuts as shown in photo.


 |
| Scor-Tape added to top and bottom of panel |
Step 4: I also scored the stitched ovals. This just made it easier to fold it under the basket base. Scored this at 1/2". Used an embossing folder for added texture on the basket sides. I didn't emboss the 1/2" that was scored.


 |
| Scor-Tape added to oval panels |


Step 6: Die cut the elements for decorating the basket. Used lots of bright spring colors. Elements adhered with Ranger Multi-Matte medium and glue dots. Added the handles to basket with glue dots. I simply cut the oval that I made in Step 2 in half.

Step 7: Basket completed and time to fill with some goodies for gift giving.

That's it for me for this post. I hope I have inspired you to make a basket of your own for Easter or as a Spring gift. Until next time.........God bless.

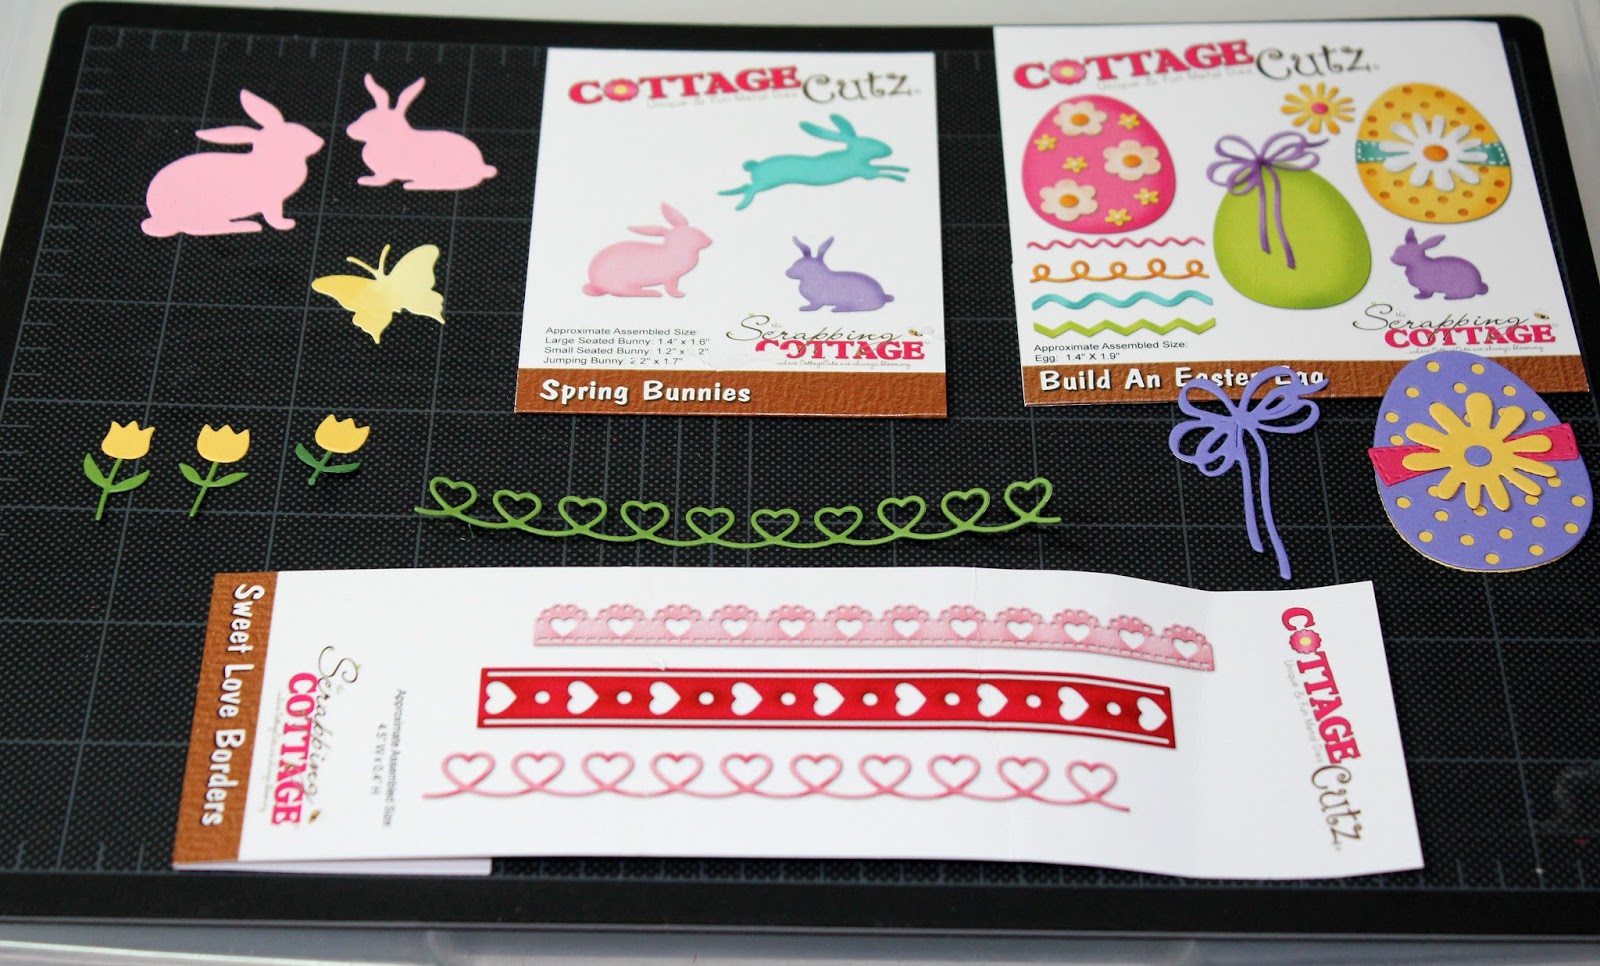
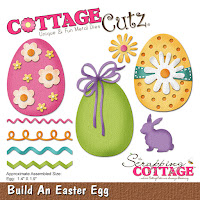
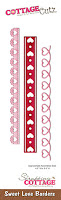
Dies I used to make basket:


I am also entering:
1. HIMCR #291 has a spring colors challenge.
2. Scrap & Craft has a celebrations challenge. My project celebrates Easter.
3. Animal Friends Challenge has an animal with big ears challenge. I have a rabbit.
4. Crafts and Me has a springtime challenge.


Wow, das Körbchen ist echt klasse! Danke für deine Teilnahme bei den Animal Friends.
ReplyDeleteLG Dreja
So sweet!
ReplyDeleteThanks for joining us at Scrap and Craft challenge.
Hugs, Randi :)
Great job on your tutorial. That is a very cute basket. I like the embossed sides.
ReplyDeleteSuper job on the tutorial Mary! I LOVE your basket!! The embossed sides and fun embellies make it the best :)
ReplyDeleteYour bag is so wonderful.
ReplyDeleteThanks for joining us at Animal Friends
Hugs Anja
This sweet bag is so adorable, Thank you for joining us over at Scrap & Craft Inspiration. Good luck!
ReplyDeleteHugs
Suzi
A beautiful easter basket Mary !
ReplyDeleteThank you for joining the Animal Friends Challenge.
Hugs, Jessica DT
Thats a fab basket! Thank You for joining in the Springtime challenge at Crafts and Me. Please check back soon for winners and enter our new Things with Wings challenge x
ReplyDelete