Hello Blogger Friends! I am sending greetings from the Isle of Palms in South Carolina. We are having a wonderful time at the beach with my son and his family. The weather is sunny, hot and humid. So perfect for a beach vacation. We return home on Saturday night.
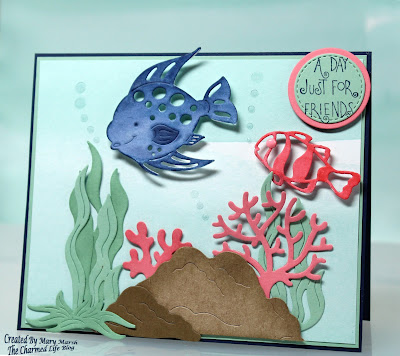
We just finished up a fun night of games. Everyone has gone to bed so I thought I would post the card I made for my Wednesday DT post on the CottageCutz Blog.
I created an underwater scene and then I realized my card was going to be a bit larger than the usual A2 size that I make. I have some 12 x 12 paper, but I didn't have any in the navy blue shade I wanted to use. So I did a hinge technique for this card. It worked out well and I show you how in the instructions below.
navy card base: 5 3/4" x 4 3/4"
mint macaron green layer: 5 5/8" x 4 5/8"
mint macaron designer paper layer: 5 1/2" x 4 1/2"
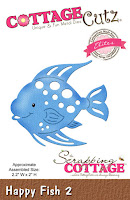
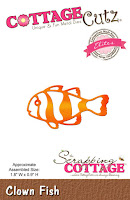
CottageCutz dies used: under the sea, happy fish 2 and clown fish
navy card base: 5 3/4" x 4 3/4"
mint macaron green layer: 5 5/8" x 4 5/8"
mint macaron designer paper layer: 5 1/2" x 4 1/2"
CottageCutz dies used: under the sea, happy fish 2 and clown fish
I found this mint macaron designer paper in my stash from the Stampin'-Up "perfectly artistic" collection. I thought it had the look of sea water so I decided to use that. You could also sponge or brayer water in to create an underwater scene.
Next, I cut all the die elements I wanted to use. For the sea greenery, I sponged some of the cardstock to get a variation in shades. I did the same with the sea coral. I used the new Stampin'-Up flirty flamingo cardstock and sponged one to get the shade variant.
Next, I cut all the die elements I wanted to use. For the sea greenery, I sponged some of the cardstock to get a variation in shades. I did the same with the sea coral. I used the new Stampin'-Up flirty flamingo cardstock and sponged one to get the shade variant.
For my fish I die cut them from a multi media paper and colored them with an aqua brush and night of navy reinker and the flirty flamingo ink pad. So the smaller fish and the coral are the same color but I like how I was able to get a darker shade by water coloring.
For the water bubbles I used the happy fish 2 die and cut from acetate and used the round circles from that. I cut it 2x to get all the bubbles I needed.
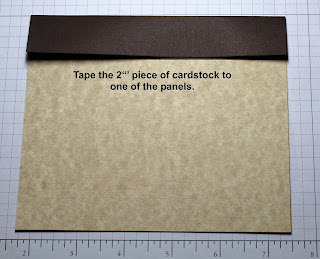
Now for the hinge technique. I cut 2 pieces of navy cardstock 5 3/4" x 4 3/4". I also cut another 2" x 5 5/8" piece of navy and folded that in half. Using Scor-Tape for added strength, I taped this smaller piece on the first navy panel. Then I repeated the process with the 2nd navy panel. Voila! Now I have a custom made base size and didn't have to go and buy any 12 x 12 paper to make it.
Here are some photos of how I did this technique. I used beige cardstock and dark brown for the hinge part so you could see in the photos what I am doing. You can add patterned paper to the inside to cover the hinge or use an embellishment.
Well friends, that's it for me for today. Time to get to bed because the days start early here at the beach. So until next time......God bless.


Thanks for the info on the hinged card technique. I can use that for sure. Lucky you at the beach. It's been a few years, but I think Magnolia's in Charleston is still a top restaurant. It was always one of my favorites. Enjoy!
ReplyDelete