Tuesday, April 18, 2017

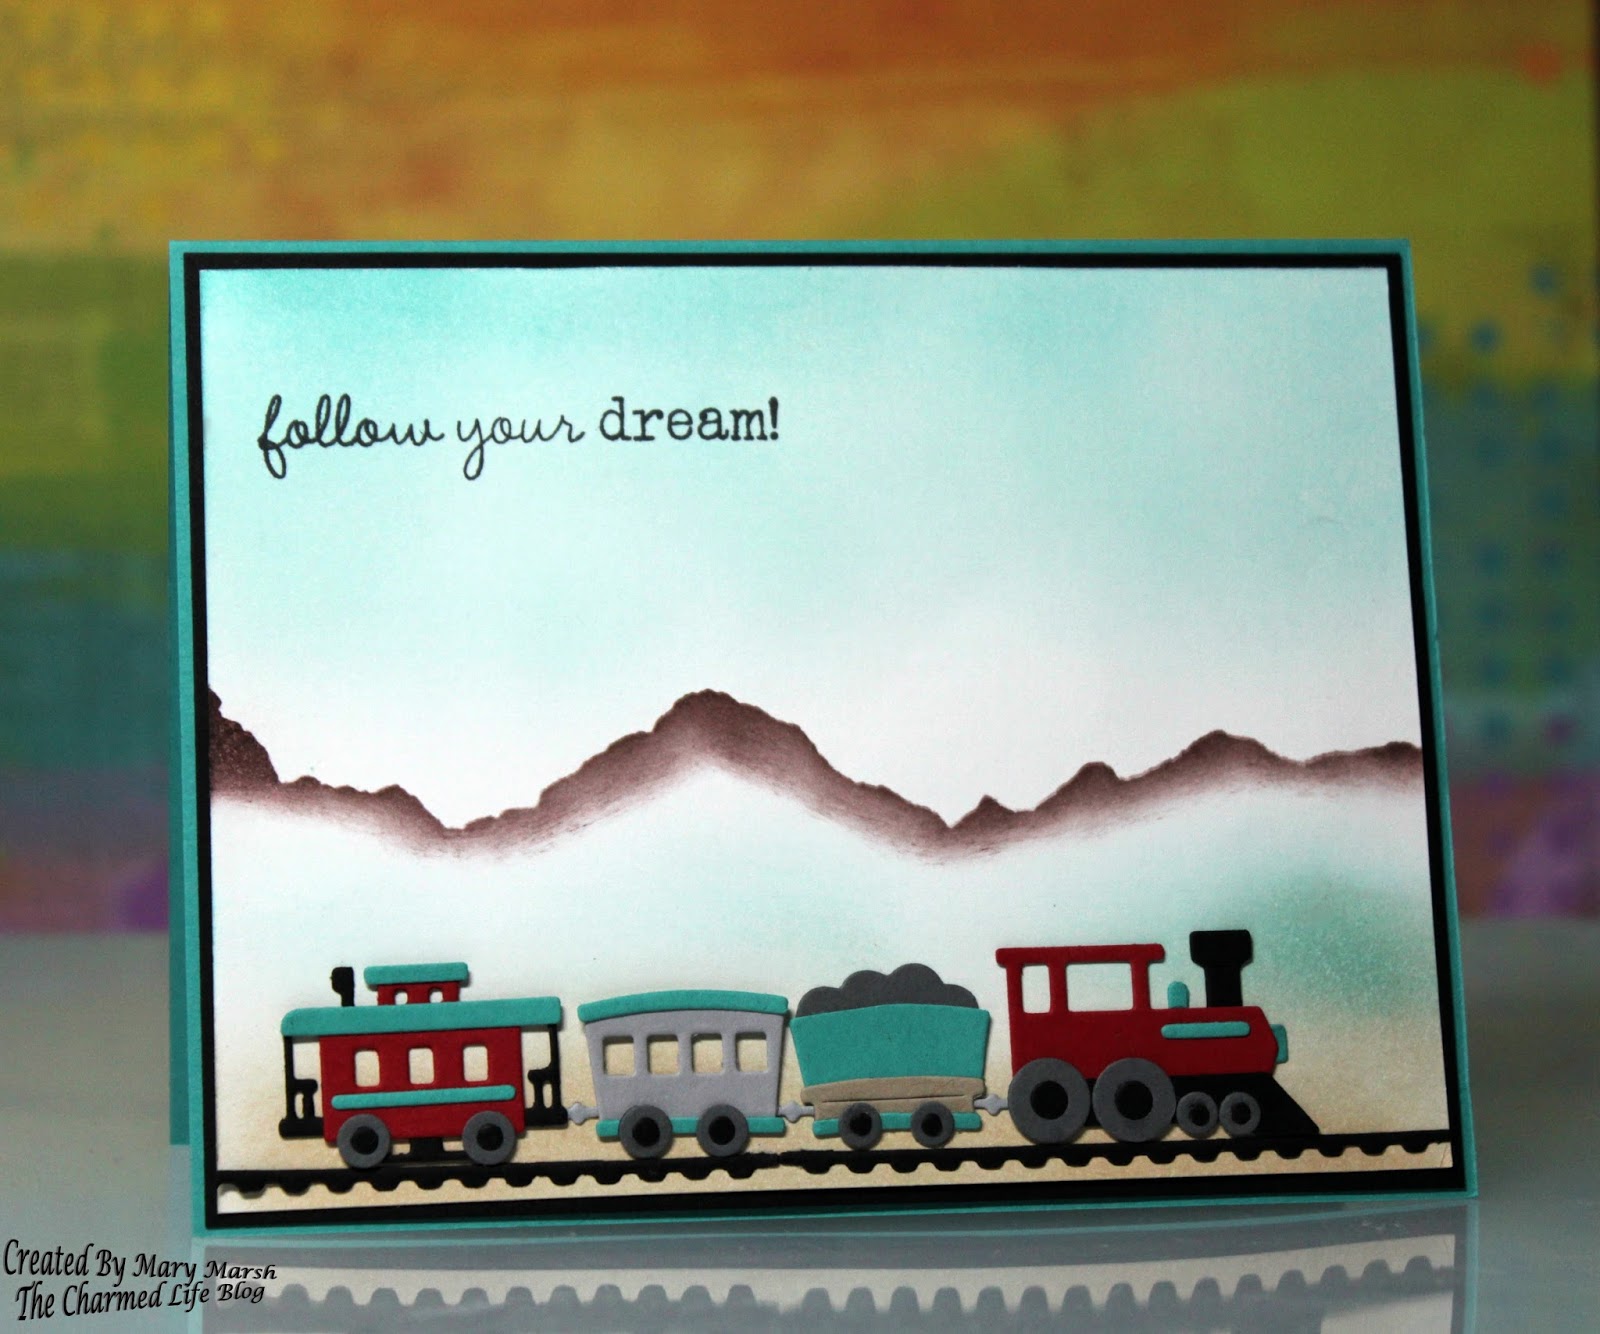
~ Follow Your Dream ~

Hello Blogger Friends! Thanks for taking the time to stop and visit with the Charmed Life Blog.
Enjoying my last couple days of Easter break before pre-school resumes on Thursday. It's a bright sunny day here in Pittsburgh. My grandson has a baseball game this afternoon at his school. So it will be a perfect day for it. 
 
Let's move onto my card for today. This one I made for my weekly DT post on the CottageCutz blog.
And, for your viewing pleasure, I am showcasing the new Choo Choo Train dies. But, I am showing another way to use this die that isn't centered around a baby card.

So without further delay, let's get started on how I created my card.

bermuda bay card base: 5 5/8" x 4 3/8"
black Layer Panel: 5 1/2" x 4 1/4"
Image Panel: 5 3/8" x 4 1/8"

Step 1: I started my card this week by die cutting my train pieces. I used the colors from the Splitcoaststampers color challenge #631. The colors are red, crumb cake, bermuda bay and black. I also used a neutral of smoky slate and basic gray.
bermuda bay, black, real red, crumb cake

Step 2: I decided to create an outdoor scene for my train. I started it by sponging the teal ink on the top part of my white cardstock.

I wanted some mountains in this scene so I took a post it note (it's blue) and tore it into a mountain range shape. Placed it on my cardstock to cover the card top and sponged in chocolate ink.


For the final step to the background, I sponged more teal ink and then crumb cake and tea dye distress. I was happy with how the background turned out.

Step 3: I usually stamp my sentiment as one of my last things to complete my card. But, since I had a couple of layers on this one I stamped at this point in the process. I used Tuxedo Black ink and my MISTI for placement.

Step 4: I placed my train cars, couplings and track on the completed background scene.

Step 5: I layered the black cardstock to the image panel and then to my teal card base. And, that completed this card. Here is a close-up of the card. I wanted to show the detail in the train cars -right down to the couplings that connect the train together. You can click any of the photos to make them larger.

I hope I have given you an idea for a different way to use this die. Sometimes by just thinking out of the box a bit, you can get a creative idea to use a die in a unique way. Well, that's it for me for this post. Until next time..... God bless.

Die I used to create card:
http://www.scrappingcottage.com/cottagecutzchoochootrain.aspx
I am also entering:
1.  Always Fun Challenge is anything goes.
2.  Crafting From the Heart has an anything goes challenge.
3.  Lost Coast Designs has a favorite background technique. Sponging is one of my faves.
4.  Path of Positivity has a beauty of nature challenge.

Sunday, April 16, 2017

~ Easter Blessings ~

Hello Blogger Friends! Thanks for taking the time to stop and visit with the Charmed Life Blog. Today is Easter Sunday so I hope your day was a good one.
 
We started our day off with Church. Our Pastor had a great Easter message. In fact, I told him after service that I thought it was the best Easter message I ever heard him preach. We have been part of this church since 1990 so I have heard a lot from him over the years.
 
After service we went to visit with our son and daughter-in-law for a couple of hours. Then we moved to my hubby's family where we had dinner. It was a great time of just enjoying each other's company and having a great meal together.
 
My hubby's niece hosted the dinner at her home. She is such a great hostess. I have to drop a thank you card in the mail and let her know how much we appreciated the day.
 
Now onto my card for today. This one I made for the color challenge #629 on Splitcoaststampers. Karen was our hostess and she chose sweet sugarplum mint macaron and pear pizzazz for her color trio.
sweet sugarplum, mint macaron, pear pizzazz
 
I used the MojoMonday #491 sketch. I love tilted panels so this layout was for me.

My background designer paper is from the Stampin'-Up "playful palette" and blooms and bliss collections. The Easter Egg is the die from CottageCutz - "build an Easter egg" collection. I cut the background egg in pear pizzazz as well as the bow across the center of the egg.

Sentiment is from MFP "blessings" stamp set. I stamped in sweet sugarplum ink and used my MISTI for placement. Finished off the card with some mint macaron and sweet sugarplum enamel dots.

I am also entering this in the Splitcoaststamper April Virtual Stamping Night challenge. The hostess was Lee and the challenge was "April Fun".  She wanted us to use the letters APRIL in our card design.

A - angle (sentiment panel)
P - Polka Dots
R - Rectangle Dies
I - Ink (sweet Sugarplum)
L - Layering
 
That's my card for today. So until next time.......God bless.
 
card details:
Stamps: blessings (MFP) 
Paper: sweet sugarplum, mint macaron, pear pizzazz, whisper white, playful palette, blooms and bliss dsp (Stampin'-Up)   
Paper Size: A2
Ink: sweet sugarplum
Accessories: stitched rectangle & rectangle dies, build an Easter egg (CottageCutz), it's my party & 2016-2108 in-color enamel dots (Stampin'-Up) 


Thursday, April 13, 2017

S'more Fun

 
Hello Blogger Friends! Thanks for taking the time to stop and visit with the Charmed Life Blog.
Today is my first day of Easter break at Preschool. I used the day to clean my craft room and some other household chores.
And, yesterday the 2016 taxes were finished and filed. That headache is over for another year. We owed a very minimal amount so that was very good.
 
I also put my Easter cards in the mail today. They are just going locally so they will get there by Saturday. Don't know why I didn't send them sooner. I have had them done for awhile.
 
We will be having Easter dinner with my hubby's family. Usually, I cook and have them here but his niece wants to host this year. My son and daughter-in-law will be having dinner with her parents. So this all works out nicely for me.
 
Now onto today's card. This one I made for the virtual stamp night challenges on Splitcoaststampers. Misti was the hostess of the "funny friend" challenge. She wanted us to project that you could send to THAT friend that is a punny, snarky, humorous card.
 
I think mine falls in the punny and humorous category.

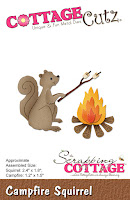
Did you ever see a squirrel toasting marshmallows (lol)!! My precious 6 year old granddaughter will love this because when she comes to visit in the summer we always make s'mores together.

I used lots of CottageCutz dies to create my campground scene. The background paper is something from my stash. I layered that over night of navy cardstock.

The sentiment is from the get toasty set by MFT.
 
Well, that's it for me for this post. time to dim the lights in Charmed Life land for another day. So until next time........God bless.
 
Card Details:
Stamps: Get Toasty (MFT)  
Paper: night of navy, mossy meadow, baked brown sugar,cajun craze, summer sun, kraft, smoky slate (Stampin'-Up)  
Paper Size: A2  
Ink: night of navy, smoky slate (Stampin'-Up), distress inks tea dye, rusty hinge  
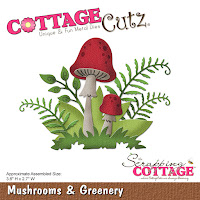
Accessories: snowcapped mountains, mushrooms & greenery, campfire squirrel, campsite dies (CottageCutz) 
 
Dies I used to create card:
http://www.scrappingcottage.com/cottagecutzcampsite.aspx
 
http://www.scrappingcottage.com/cottagecutzcampfiresquirrel.aspx
 
http://www.scrappingcottage.com/cottagecutzsnowcappedmountains.aspx
 
http://www.scrappingcottage.com/cottagecutzmushroomsandgreenery.aspx
I am also entering:
1.  Crafting With An Attitude has an anything goes challenge.
2.  Crafty Girls Creations has an anything goes challenge.
3.  Crafty Creations has an anything goes challenge.
4.  Inspiration Destination has an anything goes challenge.

Monday, April 10, 2017

~ Wrinkle Free Distress Technique ~

Hello Blogger Friends. Thanks for taking the time to stop and visit with the Charmed Life Blog today. Hope your weekend was relaxing whatever you did and that there was some crafty time in there as well.
 
I didn't do anything special just some household things. I did finally purchase the new knobs for my kitchen cabinets and I even put them on. It wasn't difficult at all.  Some months ago I mentioned the remodeling that we were doing.
 
Well, it's still not done. Christmas came and I put everything on hold and then it went to the back burner for some reason. It's so close to being finished so I am pushing ahead.
 
The eating area of the kitchen needs painted so I am going this week to pick that out. I will also be purchasing a new ceiling light fixture. I didn't see anything that jumped out at me at the big box stores. So, I am looking on line. I also need a new area rug and the hardwood floor in the eating area needs refinished. I am going to call the contractor today.
 
Hopefully in the next month I can call this project a done deal. It's been a year so it's more than time to be done.
 
old olive, rich razzleberry, pumpkin pie
Now let's move on to my card for today. this one I created for the color challenge #628.  I was the hostess this week and I chose old olive, rich razzleberry and pumpkin pie for my color trio.

For both my cards I decided to do a wrinkle free distress technique. The tutorial is here on SCS.

I swiped my 3 colors of distress ink (spiced marmalade, seedless preserves and peeled paint) on my craft mat- sprayed with water-and then laid my distressed watercolored cardstock on top.

I made about 4 backgrounds and each one of them turned out different. I didn't lay this background back in the ink after using the heat tool. I got a slightly lighter color on my spiced marmalade on this one.

I first tried the technique using Stampin'-Up inks, but I didn't get the same dramatic effect that I did with the distress inks.

This background reminded me of a misty English moor so I went with that and started stenciling. What I did on this card is way out of my comfort zone (lol). But, I like how it turned out

After the stenciling was done, I had to add the fairy. She fit right in the scene. It's the Spring Fairy die from CottageCutz. The sentiment is a stamp from Great Impressions. Layered my background on a rich razzleberry card base to complete this card.
 
Well that's it for me for today. time to get started with my card for this week's color challenge. So until next time......God bless.
 
card details:
Stamps: Wishes Have Wings (Great Impressions Stamps)
Paper: rich razzleberry, whisper white (Stampin'-Up), distress watercolor cardstock (Ranger) 
Paper Size: A2
Ink: spiced marmalade, seedless preserves, peeled paint, old olive, rich razzleberry   
Accessories: Spring Fairy and Wildflowers 2 dies (CottageCutz), Garden Fronds Stencil (Memory Box), Blossoms Stencil (Martha Stewart)
Techniques: Wrinkle Free Distress 
 
Dies I used: 
 
I am also entering:
1.  Cards in Envy has a fantasy and flowers challenge.
2.  Crafty Cardmakers has a Things with Wings challenge.
3.  Lost Coast Designs has a favorite background technique
      

Saturday, April 8, 2017

Bee Happy with Bumblebee Ben

Hello Blogger Friends! Thanks for taking the time to stop and visit with the Charmed Life Blog.
 
It's a bright and sunny day here in Pittsburgh.  Such a difference from yesterday when it was cold and blustery and snowy all day. It laid on the grass and roof tops but didn't stick to the ground.
 
It didn't keep people from coming out to our church fish fry. We had a big crowd and another sell out on my shrimp and crab chowder. We have one more next Friday for this year. It's a lot of work but the camaraderie in our kitchen is great.  
 
Now onto my card for today. this one I made for my weekly DT post on the CottageCutz Blog. Today for your viewing pleasure, I am showcasing another one of those dies.  I present Bumblebee Ben. He will be the star of my framed card. So without further delay, let's get started on how I created my card.

Vanilla Card Base: 4 1/4" x 5 1/2"
Hello Honey Frame: largest wide stitched rectangle frame die 4 3/4" x 3 3/4"
Image Panel: 4 1/8" x 5 3/8"
 
Step 1: I used Tuxedo Black (Memento) ink on  X-Press It Blending cardstock to stamp the image. I always stamp 2 just in case I make a mistake in coloring.
 
Today, I am using both Prismacolor Pencils + Gamsol and Stampin'-Up Blendabilities Alcohol Markers.
Gamsol is an odorless mineral spirits that helps to move the wax around in the pencils.
 
Blendabilities used: Melon Mambo (light & medium), old olive (light and medium), might of navy (light, med and dark )
Prismacolor Pencils: PC1082, PC947 (brown), PC928, PC993 (pinks), PC1060 (gray), Black & White

After coloring I cut Ben out with the coordinating die. It's included in the set.
 
Step 2: Cut the frame with the pierced wide rectangle frame set in a honey cardstock.  I wanted a stenciled background for the beehive and bee. Used distress ink, honeycomb stencil and a stencil brush.
 
Step 3:   With stenciling complete, I cut my background elements. Used an older die set "Beehives" that includes the beehive, bee and tree limb. I thought it worked well with Bumblebee Ben. Used the same honey cardstock for the beehive. Used vellum for the bee's wings and sponged lightly with honey distress ink.
 
Step 4:  Stamped my sentiment. This is a card of encouragement so I thought this stamp would work well. I used a stamp-a-ma-jig for placement. I laid the card pieces on the background and added the frame to make sure I got the proper placement.
 
Step 5:  I assembled my card on this step. I used mounting tape to lift the frame from the background. It adds interest to your card. Since the frame was popped up, I didn't need to do that with Ben. Here is a close up shot of the dies. Really a lot of detail in the beehive and bee and in the stitched frame. All of the CottageCutz dies have such great detail.
 
Well, Blogger friends that's it for me for this post - until next time.........God bless.
 
Dies I used to create card:
http://www.scrappingcottage.com/cottagecutzbumblebeebenstampanddie.aspx

http://www.scrappingcottage.com/cottagecutzbeehives4x4.aspx

http://www.scrappingcottage.com/cottagecutzstitchedwiderectangleframesetbasics.aspx
I am also entering:
1.  A Gem of a Challenge has a furry friends challenge.
2.  Crafty Friends has an animals or birds challenge.
3.  My Time to Craft has a no designer paper challenge.  
4.  Creative Knockouts has an Outside Fun challenge.
 

Thursday, April 6, 2017

~ Happy Spring - wrinkle free distress technique~

Hello Blogger Friends! Thanks for taking the time to stop and visit with the Charmed Life Blog. Today is a Preschool day for me so I wanted to get a post completed before I leave for school.
 
We are going to dye eggs for Easter. The kids will love doing this. We use a wire whisk and put the egg inside then dip it into the dye. That way it doesn't get broken. Our director came up with this idea and I thought it was a great one. It will get a bit messy but a contained one.
 
I also picked up some large fun foam egg shapes at the Dollar Store and die cut some decorations for the kids to glue on. So I have chevrons, scallops, flowers, butterflies, bunnies and fairies for them. I try and keep all items the same because what one kiddo has the other ones will want. 
Our year is quickly drawing to a close. After Easter break we have on 5 weeks of school. It was a good year for the teachers and the students.
 
old olive, rich razzleberry, pumpkin pie
Now onto my card for today. This one I made for the Color Challenge #628 on Splitcoaststampers.  I was the hostess and I chose old olive, rich razzleberry and pumpkin pie for my color trio.

For my sample, I decided to do a wrinkle free distress technique. The tutorial is here on Splitcoaststampers. That is my optional item this week.

I swiped my 3 colors of distress ink (spiced marmalade, seedless preserves and peeled paint) on my craft mat- sprayed with water-and then laid my distressed water colored cardstock on top.

I made about 4 backgrounds and each one of them turned out different. I like the texture or ink design on this background. I first tried the technique using Stampin'-Up inks, but I didn't get the same dramatic effect that I did with the distress inks.

For this card, I used the CottageCutz Wildflowers 3 die. I cut the flowers, hummingbird and bunny in whisper white cardstock and then used a sponge dauber to color them in rich razzleberry and old olive inks.

I added a butterfly also cut in white and then sponged with spiced marmalade ink. My sentiment is a stamp from MFP and I stamped in rich razzleberry. I used my MISTI so I could stamp it several times to get it to show where I placed it on my card.
 
Well that's my card for today. It's time to get ready for school so until next we meet.......God bless.
 
card details: 
Stamps: Blessings (MFP)
Paper: Pumpkin Pie, whisper white (Stampin'-Up), distress watercolor cardstock (Ranger)  
Paper Size: A2
Ink: spiced marmalade, seedless preserves, peeled paint, rich razzleberry, old olive
Accessories: Wildflowers 3, Build an Easter Egg dies (CottageCutz), Butterfly (Cherry Lynn Designs)  
Techniques: Wrinkle Free Distress
 
I am also entering
1.  Double D Challenge has a neon brights challenge.
2.  Inky Chicks has a purple challenge.
3.  The Crafty Addicts has an anything goes challenge.
4.  Cuttlebug Mania has an Easter Bunny Challenge.

Saturday, April 1, 2017

Adventures of Ben and Chloe

Hello Blogger friends! Thanks for taking the time to stop and visit with the Charmed Life Blog today.
 
Happy April 1 to you all. I can believe I am even saying that it's April already. March went by so quickly. I have to think of a little joke to play on my hubby today with it being April fool's day. It will just be something silly, nothing elaborate or mean.
 
Yesterday was the first fish fry of the Lenten season for our church. It's a very popular event among churches in the Pittsburgh area. It went well and my shrimp and crab chowders sold out.
 
We also serve fish tacos which are a bit hit as well. We serve thai tacos and chipotle tacos. The chipotle are my favorite and are served with a delicious pico de gallo and a sour cream based chipotle sauce. Both are made from scratch in our kitchens.
 
Both hubby and I were exhausted when we came home last night. It's a 7 hour day for us being on our feet but we both enjoy being a big part of the success.
 
Time to move onto my card for today. This one I made for my weekly DT post on the CottageCutz blog. A couple of months ago there was a new release of the cutest little bear stamps & coordinating die sets. They are titled the Adventures of Chloe & Ben.
 
If you haven't seen them before take a look back on the CottageCutz Blog. The DT has featured them on lots of daily posts.

Today for your viewing pleasure, I am showcasing one of those dies.  I present Ben, Up Up and Away. He will be the star of my birthday card. So without further delay, let's get started on how I created my card.

Step 1: I used Tuxedo Black (Memento) ink on  X-Press It Blending cardstock to stamp the image. I always stamp 2 just in case I make a mistake in coloring.  Used both Copic Markers and Prismacolor pencils to color and this cardstock works great with both these mediums.
Copics used: R27, R29 (red), B93, B95 (blue), YG 41, YG 45 (green) and R20 (blush)
Prismacolor Pencils: PC1082, PC947 (brown) and PC928 (blush)

After coloring I cut Ben out with the coordinating die. It's included in the set.

 
Step 2: My layout decision was next. I used this week's MojoMonday sketch. It allowed me to use some bright and festive patterned paper and also had a separate layer where Ben would have the center stage.
 
When I work with a sketch, I print it out and then figure out the sizes of my panels. My card base and first layer are the easiest.
Turquoise Card Base: 5 1/2" x 4 1/4"
1st Patterned Paper layer: 5 3/8" x 4 1/8"

Then I look at my printout and guesstimate how much of a border will be around the next layer. In this case, I thought 1/2" was about right. I cut a piece of scrap paper to lay it down and check to make sure it works. Then I actually cut the cardstock and patterned paper I will use.
Neon Pink cardstock layer: 4 5/8" x 3 3/8"
Striped Patterned Paper Layer: 4 3/8" x 3 1/8"

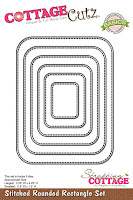
For the image panel, I again take a piece of scrap paper and fold it roughly and make sure the borders on my card look like the borders on the printout. Then I used the 2nd largest CottageCutz stitched stitched rounded rectangle die and cut my panel. I stamped my birthday sentiment in an emerald green ink.
ImagePanel: 2 5/8" x 3 5/8"
 
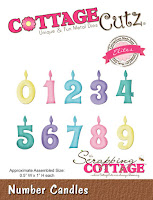
For the long rectangle piece running the width of the card, I used turquoise cardstock. I thought of ribbon but I didn't have any turquoise that worked on this card. The sketch has a bow on this panel. But, I decided to use the CottageCutz Number Candles die and add a "3" for this element. I need a birthday card for a 3 year old. So this worked out perfectly for me.
 
Step 3: Now that everything is cut and stamped, it's time to assemble my card. I used dimensional adhesive on the image panel and also on Ben. It adds depth and interest to your card. I did the same for the #3.

Well, that's my post for this first day of April. So until next time...........God bless.
 
Dies used to create card:
http://www.scrappingcottage.com/cottagecutzbenupupandawaystampanddie.aspx

http://www.scrappingcottage.com/cottagecutznumbercandleselites.aspx

http://www.scrappingcottage.com/cottagecutzroundedrectanglesetbasics.aspx
 
 I am also entering:
1.  Colour Crazy Challenge has an anything goes challenge.
2.  Crafting With Friends has an anything goes challenge.
3.  Just Add Ink has a just add critters challenge.
4.  A Gem of a Challenge has a furry friends week challenge
5.  My Time to Craft has a woodlands animal challenge.

LinkWithin

Related Posts with Thumbnails